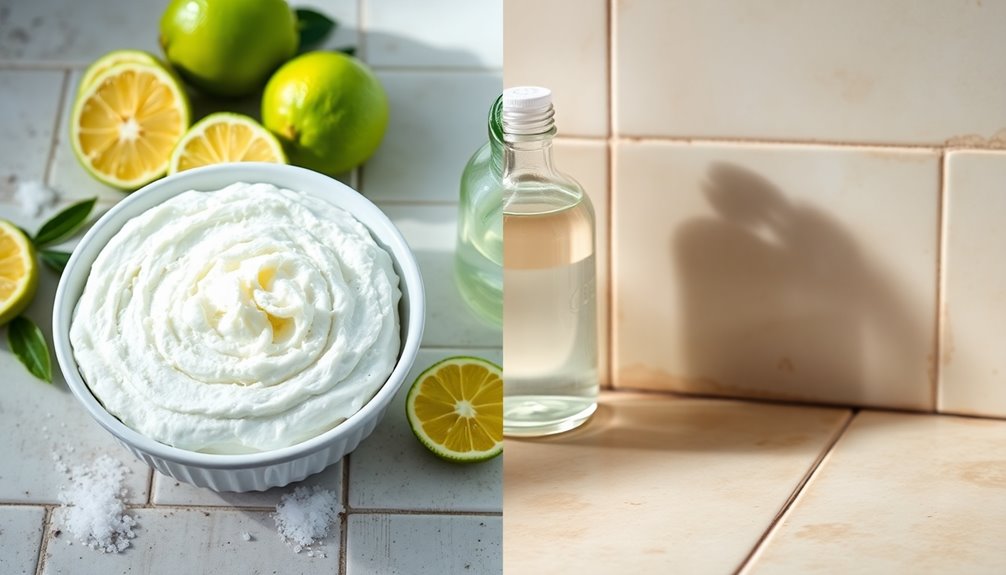

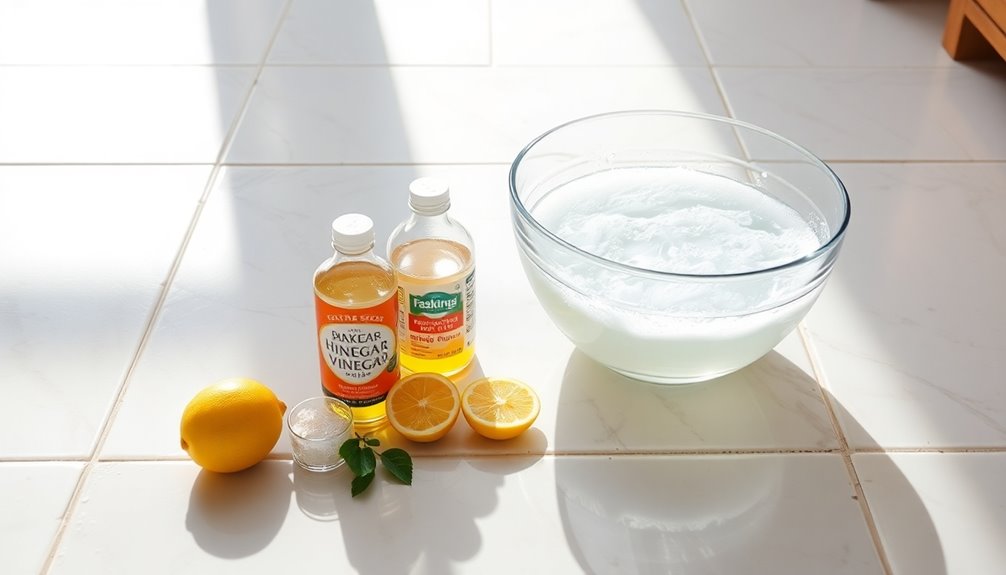
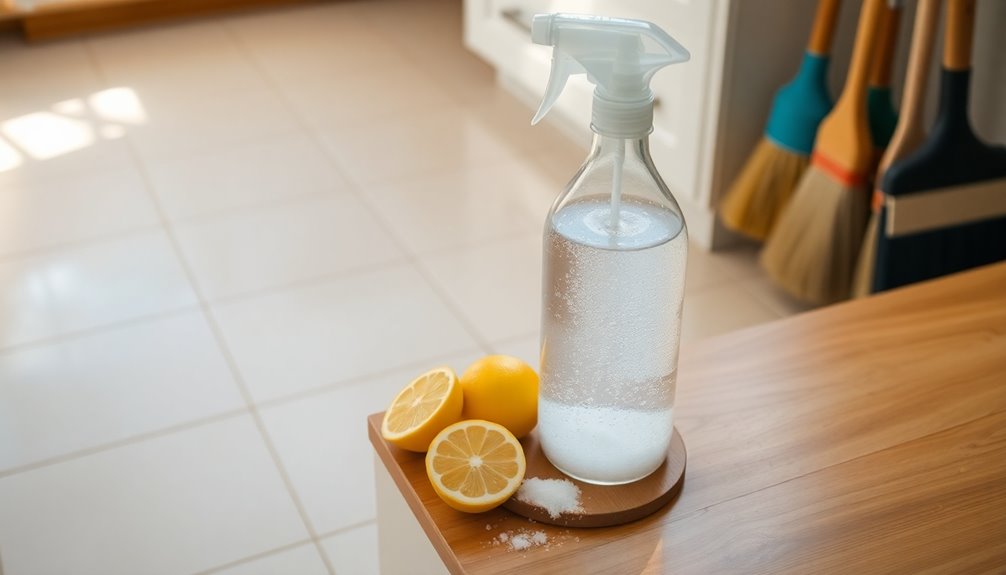
To make a homemade grout cleaner that actually works, mix 3/4 cup baking soda, 1/4 cup hydrogen peroxide, and 1 tablespoon of dish soap in a bowl. Apply this paste to your grout lines and let it sit for 10-15 minutes. Scrub with a brush and rinse with a wet sponge. For tougher stains, you can mix cream of tartar with lemon juice. Want to keep your grout looking fresh for longer? You'll find useful tips ahead.
Key Takeaways
- Combine 3/4 cup baking soda, 1/4 cup hydrogen peroxide, and 1 tablespoon dish soap to create an effective grout cleaning paste.
- For a spray option, mix equal parts hydrogen peroxide and water in a spray bottle for easier application.
- Always test the DIY grout cleaner on a small, inconspicuous area before applying it broadly to avoid damage.
- Use a handheld or electric scrub brush to apply the cleaner and scrub the grout lines thoroughly for best results.
- Rinse the area with a wet sponge or microfiber cloth after cleaning to remove any residue and restore shine.
Understanding the Need for Grout Cleaning
When you think about maintaining your home, grout cleaning mightn't be the first thing that comes to mind, but it's essential for keeping your tiled areas looking fresh.
Dirty grout can make kitchens and bathrooms appear unkempt, while also promoting mold and mildew growth. Since grout is porous, it absorbs dirt and moisture, which is why regular grout cleaning is vital.
You should clean grout effectively, especially in high-traffic areas that need monthly attention. For less-used spaces, once or twice a year might suffice.
Additionally, addressing spills immediately can help prevent staining and discoloration. Regular home cleaning is crucial not only for aesthetics but also to support a healthier lifestyle by promoting cleanliness and hygiene.
Key Ingredients for an Effective Grout Cleaner
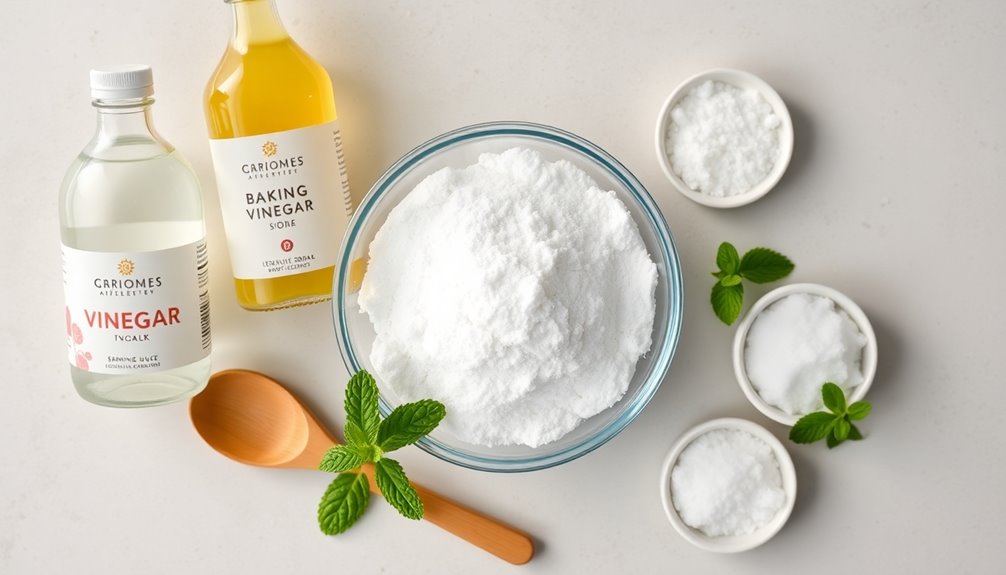
Creating an effective grout cleaner at home starts with the right ingredients. For a powerful homemade grout cleaner, you'll need baking soda, hydrogen peroxide, and dish soap.
Baking soda is a non-toxic cleaning agent that lifts dirt and grime from grout thanks to its mild abrasiveness. Hydrogen peroxide acts as a natural disinfectant, enhancing the whitening power of your cleaner when mixed with baking soda.
Baking soda's mild abrasiveness combined with hydrogen peroxide creates a powerful, natural disinfectant for cleaning grout effectively.
A tablespoon of dish soap helps break down grease and grime, making your cleaning grout efforts even easier.
Combine 3/4 cup of baking soda, 1/4 cup of hydrogen peroxide, and 1 tablespoon of dish soap to create a potent paste. Additionally, using natural disinfectants like hydrogen peroxide can enhance the cleaning process and ensure a safe environment.
Regular use of this effective grout cleaner not only cleans but also helps maintain your grout's appearance.
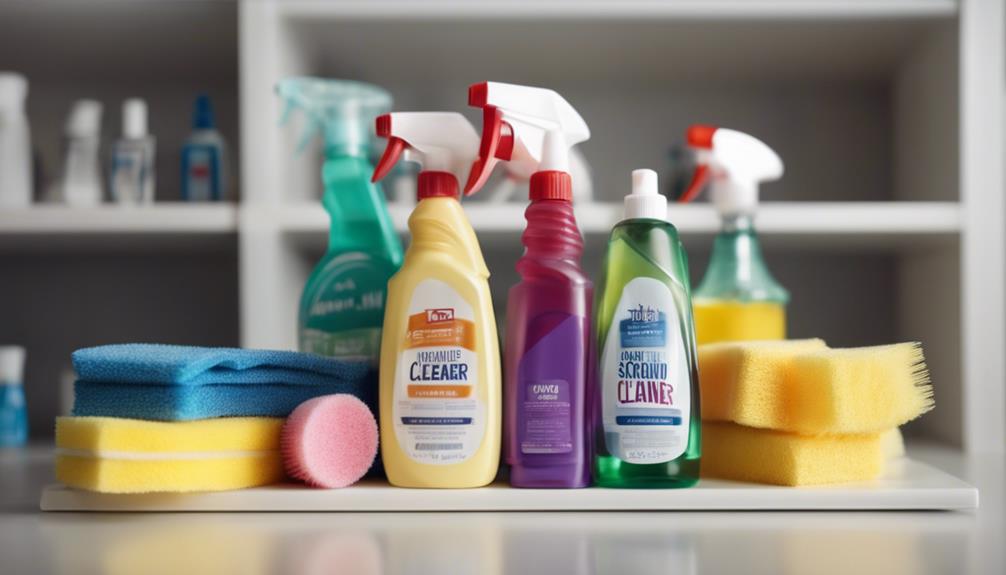
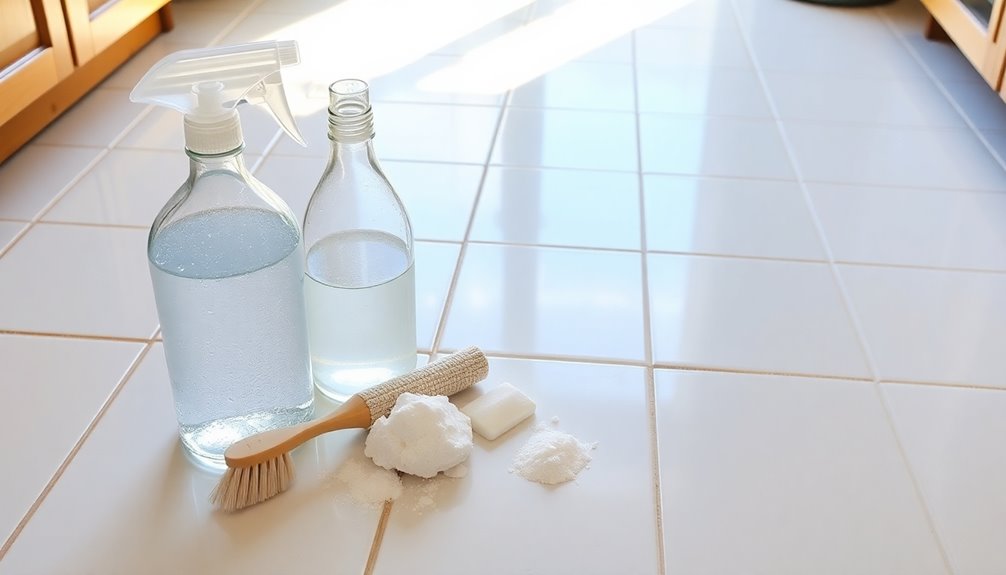
Supplies You'll Need for Cleaning Grout
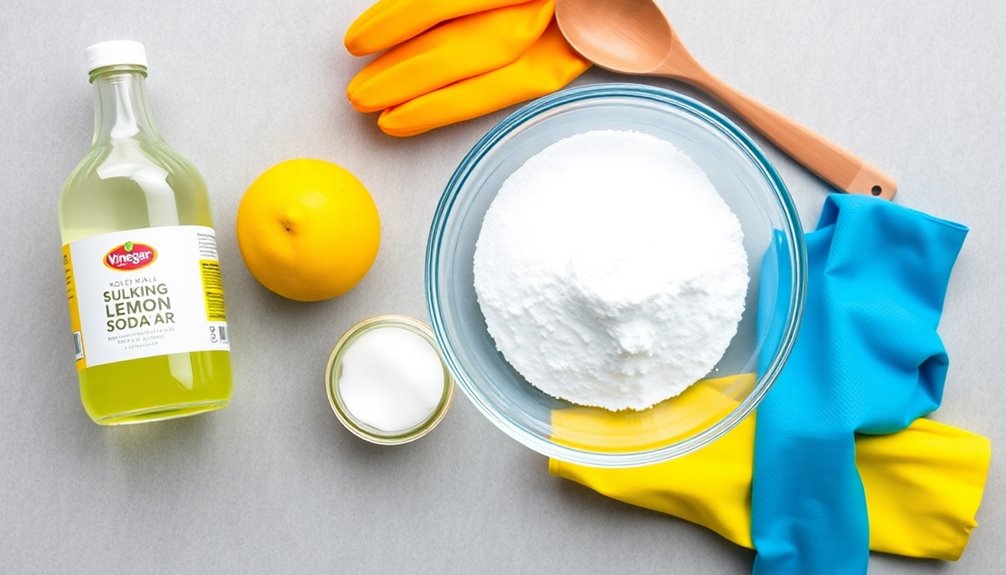
To clean grout effectively, you'll need a few essential supplies that make the process straightforward.
Start with baking soda and hydrogen peroxide, which are key ingredients in your cleaning solution.
Grab a bowl for mixing these components, and don't forget a handheld scrub brush or an electric scrub brush to tackle those stubborn stains.
It's also wise to wear rubber gloves to protect your hands from any irritants.
A squeeze-top bottle can help you apply the grout cleaner precisely where it's needed, minimizing mess.
Finally, keep a wet sponge or microfiber cloth on hand to wipe away excess cleaner and residue after scrubbing, ensuring your grout looks fresh and clean. Additionally, ensuring good lighting control in the area can help you see the effectiveness of your cleaning efforts.
Step-by-Step Guide to Making Your Grout Cleaner
Making your own grout cleaner is simple and effective.
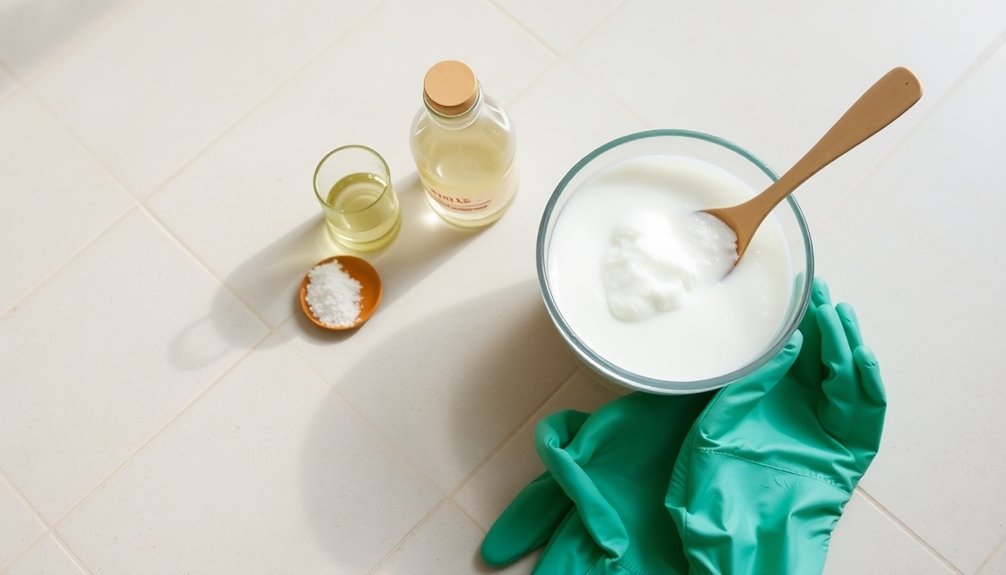
Start by mixing 3/4 cup of baking soda with 1/4 cup of hydrogen peroxide in a bowl. This creates an effective cleaning paste.
Mix 3/4 cup baking soda with 1/4 cup hydrogen peroxide for a powerful grout cleaning paste.
To boost its grease-fighting power, add 1 tablespoon of mild dish soap.
If you'd rather use a spray, combine equal parts hydrogen peroxide and water in a spray bottle for easy application on grout lines.
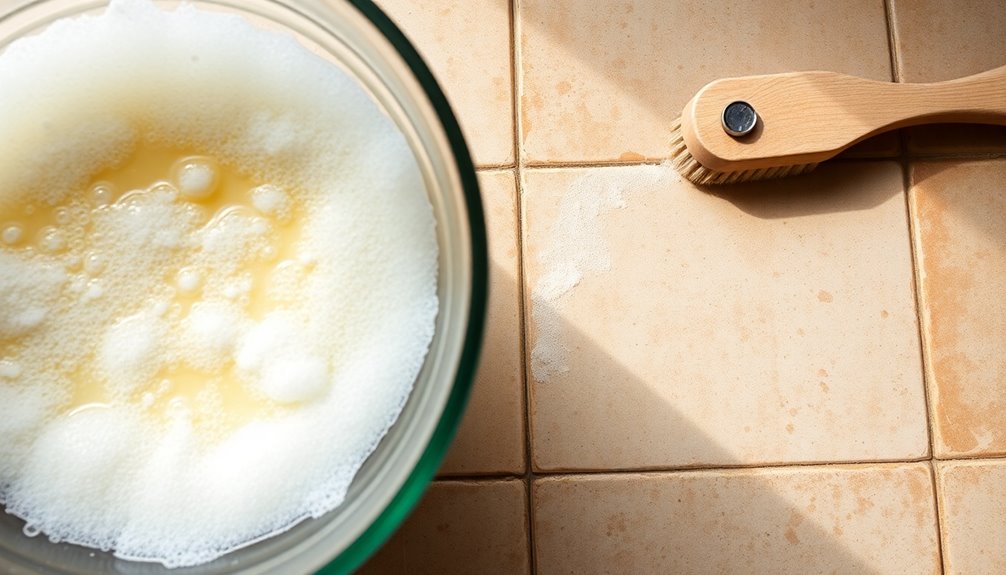
For tougher stains, try mixing cream of tartar with lemon juice to form a thicker paste you can apply directly.
Remember to test your DIY grout cleaner on a small, inconspicuous area before widespread application to guarantee it won't discolor your grout. Consistent maintenance of your cleaning tools ensures they remain effective over time, similar to regular cleaning for air purifiers.
Now you're ready to clean your grout!
How to Apply the Grout Cleaner

Once you've prepared your homemade grout cleaner, applying it effectively is key to achieving clean and bright grout lines.
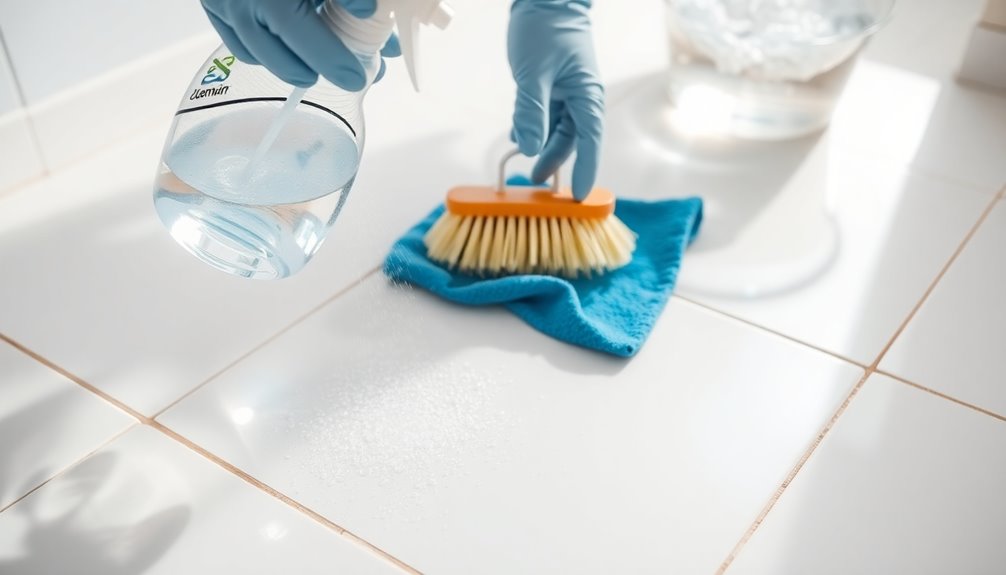
Use a squeeze-top bottle to apply the grout cleaner directly onto the dirty grout. Let it sit for about 5 to 10 minutes to allow the cleaner to work its magic on the stains.
Next, grab a handheld cleaning brush or an old toothbrush and scrub the grout lines with some elbow grease. Make sure to apply firm pressure for the best results.
Once you've scrubbed thoroughly, wipe off the cleaner with a damp sponge or rag to remove any residue.
Finally, rinse the area with water and dry it with a towel to prevent mold and mildew growth. Remember, maintaining clean grout long-term can be easier with regular cleaning methods that prevent dirt buildup.
Techniques for Scrubbing Grout Effectively
Effective scrubbing techniques can make a significant difference in restoring your grout to its original state. Use a grout brush or an old toothbrush to really get into those lines, applying firm pressure. Work in small sections, letting the cleaning solution sit for 5-10 minutes before you scrub. Remember to rinse frequently to avoid residue buildup. Regular maintenance, such as regular vacuuming, can help prevent dirt accumulation and make your grout cleaning efforts more effective.
| Step | Action | Tips |
|---|---|---|
| 1 | Apply cleaning solution | Focus on small sections |
| 2 | Scrub in circular motions | Lift dirt and grime better |
| 3 | Rinse with a wet sponge | Prevent residue buildup |
| 4 | Mop with hot water | Confirm all residues are gone |
| 5 | Admire your tile floors | Enjoy the refreshed look |
Rinsing and Final Cleanup Process
After you've scrubbed the grout, it's crucial to focus on the rinsing and final cleanup process to guarantee a thorough finish.
Start by using a wet sponge or microfiber cloth to wipe away the cleaner and any loosened dirt. Next, rinse the area thoroughly with clean water to make sure all cleaning residue is removed, preventing potential buildup.
If you're dealing with floor grout, mop the entire surface with hot water and a mild detergent to eliminate lingering cleaner and dirt.
Finally, dry the area completely with a towel or let it air dry, as any remaining moisture can promote mold and mildew growth. Additionally, maintaining a clean environment with HEPA filtration can help minimize dust and allergens that settle in grout lines.
Regularly maintaining this rinsing and cleanup process helps preserve your grout's appearance and longevity.
Tips for Preventing Grout Stains in the Future
To keep your grout looking fresh, establish a regular cleaning schedule that includes mopping and vacuuming. Don't forget to apply a grout sealer once a year; it's your best defense against stains. Additionally, maintaining a clutter-free environment can help enhance focus and productivity as you clean and organize your space.
Regular Cleaning Schedule
Regularly maintaining your grout can greatly reduce the risk of stains and discoloration. Establish a regular cleaning schedule that includes mopping tiled areas at least once a week. This helps remove dirt and prevents soil buildup on grout lines.
Weekly, use rubbing alcohol on a cloth to wipe down your grout and tiles; it effectively kills mold and mildew spores before they settle in. Make it a habit to clean up any spills or splashes immediately, especially in high-traffic areas like kitchens and bathrooms, to avoid stains.
For added protection, consider monthly cleaning of grout in frequently used showers and kitchens. These simple steps will help keep your grout looking fresh and clean for years to come. Additionally, maintaining a regular filter replacement schedule for air purifiers can also contribute to reducing allergens and improving indoor air quality, creating a healthier environment in your home.
Use Grout Sealer
While keeping your grout clean is essential, using a grout sealer can take your maintenance routine to the next level. A high-quality grout sealer creates a protective barrier that repels moisture and stains, helping your grout stay looking fresh. It's best to seal grout lines annually, especially in kitchens and bathrooms where moisture is common. Here's a quick guide to help you:
| Grout Type | Sealer Type | Application Frequency |
|---|---|---|
| Sanded Grout | Penetrating Grout Sealer | Once a year |
| Unsanded Grout | Film-Forming Sealer | Once a year |
| High-Traffic Areas | Penetrating Grout Sealer | Every 6 months |
| Water Test | Bead Up = Sealed | Soaks In = Reapply |
Regular cleaning combined with sealing will protect your grout and keep it stain-free. Additionally, remember that using eco-friendly practices can enhance your cleaning routine by reducing harmful chemicals in your home.
Benefits of Regular Grout Maintenance
Regular grout maintenance isn't just about cleanliness; it greatly enhances the overall appearance of your tiled areas.
By preventing mold growth and extending the lifespan of your tiles, you'll save time and money in the long run.
Keeping your grout in good shape creates a healthier and more inviting space in your home.
Enhances Overall Appearance
Aesthetic appeal thrives in clean, well-maintained grout. When you keep your grout and tile spotless, your entire space looks more inviting, especially in high-traffic areas like kitchens and bathrooms.
Regular maintenance helps whiten and brighten the grout, enhancing its original color and charm. By following a consistent cleaning schedule, you can simplify the process of keeping your grout clean and reduce the time spent on deep cleaning.
Incorporating DIY grout cleaners into your routine makes it even easier to maintain that fresh appearance. Remember, well-maintained grout not only elevates your home's visual appeal but also extends the lifespan of your tile installations, saving you time and money in the long run.
Prevents Mold Growth
To keep your home healthy and mold-free, it's crucial to maintain your grout regularly. Grout is porous, making it a prime target for mold growth if moisture and dirt are allowed to accumulate.
By using a DIY grout cleaner made with hydrogen peroxide and baking soda, you can effectively eliminate mold spores during your weekly or biweekly cleanings. This practice greatly reduces the chances of mold developing in your tile and grout lines.
Additionally, sealing your grout once a year creates a protective barrier against water penetration, further preventing mold growth.
Regular grout maintenance not only keeps surfaces clean but also enhances your indoor air quality by minimizing mold-related allergens, ensuring a healthier living environment.
Extends Tile Lifespan
Maintaining your grout isn't just about cleanliness; it greatly extends the lifespan of your tile installations. Regular use of a homemade grout cleaner made with hydrogen peroxide and baking soda can prevent deterioration caused by moisture and stains.
When you keep your grout clean, you stop dirt, mold, and mildew from building up, which not only improves your home's appearance but also creates a healthier living environment. This maintenance is essential for preserving the integrity of both the grout and the underlying tiles.
Frequently Asked Questions
What Is the Best Homemade Grout Cleaner Solution?
If you're looking for the best homemade grout cleaner solution, try mixing 3/4 cup of baking soda with 1/4 cup of hydrogen peroxide and 1 tablespoon of mild dish soap.
This powerful combination tackles tough stains effectively. Alternatively, create a paste using equal parts baking soda and water to lift dirt.
For stubborn stains, mix cream of tartar with lemon juice. Remember to test any solution on a small area first to avoid discoloration.
What Is a Homemade Formula for Cleaning Grout?
For a fabulous formula for cleaning grout, you can mix 3/4 cup of baking soda, 1/4 cup of hydrogen peroxide, and a tablespoon of liquid dish soap.
This powerful paste packs a punch against dirt and stains. Apply it to the grout, let it sit for 5-10 minutes, then scrub away.
Just remember to test it on a small area first to avoid any unintended discoloration or damage. You'll love the results!
Is Vinegar or Hydrogen Peroxide Better for Grout?
When it comes to cleaning grout, hydrogen peroxide is generally better than vinegar. Its stronger disinfectant properties can lift tough stains without risking damage to your grout.
Vinegar, while useful for some cleaning tasks, is acidic and can weaken grout over time. If you want effective results, stick with hydrogen peroxide for your grout cleaning.
Save vinegar for other surfaces that aren't as sensitive to its acidity. You'll notice a significant difference!
What Is the Best Trick for Cleaning Grout?
When it comes to cleaning grout, think of a battle between grime and your cleaning power.
One of the best tricks involves mixing 3/4 cup baking soda and 1/4 cup hydrogen peroxide with a tablespoon of dish soap. This paste lifts dirt effortlessly.
After letting it sit for 5-10 minutes, scrub with a brush. Rinsing well is key to prevent future stains, keeping your grout looking fresh and bright.
Don't underestimate the power of regular maintenance!
Conclusion
By making your own grout cleaner, you not only save money but also guarantee a cleaner, healthier home. Regular maintenance can prevent stubborn stains from becoming a hassle. So, why let grime take over when you have the tools to fight back? With your newfound knowledge, you can keep your grout looking fresh and vibrant. Remember, a little effort goes a long way in maintaining your space—embrace the process and enjoy the results!