
After carving your pumpkin, start by removing large pieces and seeds, placing them in compost or trash. Use a spoon or scoop to clean out remaining pulp, then rinse seeds thoroughly and pat them dry for roasting. Wipe down your workspace with a damp cloth to clear any sticky residue, and wash your tools carefully. Ensuring surfaces are dry and debris is cleared keeps your space tidy and safe—exploring these steps further can make cleanup even easier.
Key Takeaways
- Use a damp cloth or sponge with mild cleaning spray to wipe pumpkin guts and sticky spills from surfaces.
- Remove pumpkin seeds and pulp from tools and work areas promptly to prevent mold and odors.
- Rinse carving tools thoroughly with warm, soapy water, then dry before storing.
- Dispose of pumpkin waste properly in compost or trash to avoid pests and unpleasant odors.
- Vacuum or sweep pumpkin debris from floors and carpets for a clean, safe environment.
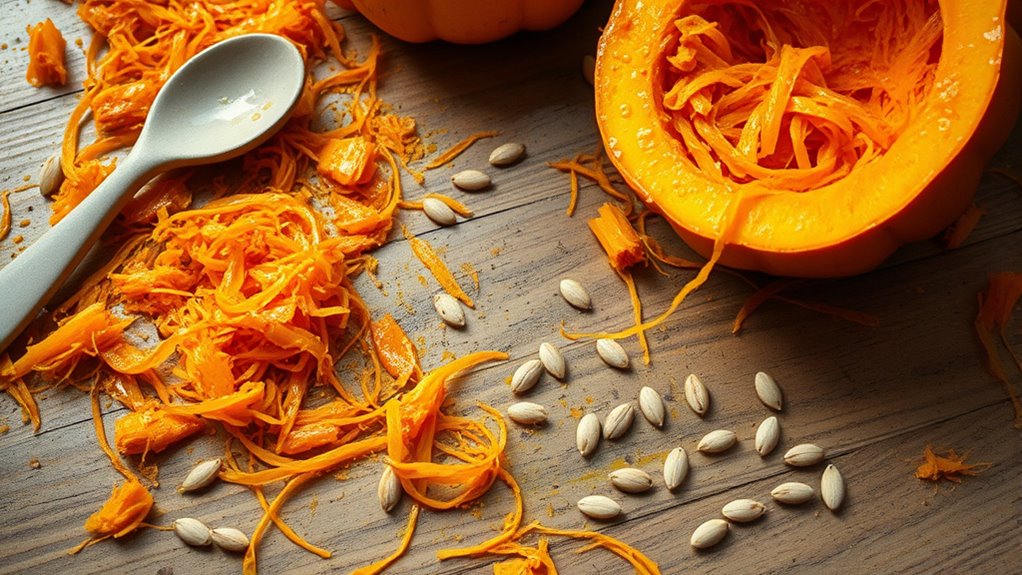
After you’ve finished carving your pumpkin, cleanup is an essential step to keep your space tidy and safe. Pumpkin guts and spills can quickly turn into a messy ordeal, but with a few simple steps, you can efficiently clean up and prep for future treats like pumpkin seed roasting or decorative pumpkin cleaning. Start by gathering your supplies—garbage bags, paper towels, a damp cloth, and a small brush or scraper. Remove any large pumpkin pieces and seeds, placing them into your compost or trash bin. This initial step not only clears the workspace but also prevents seeds from drying out and sticking to surfaces.
Next, focus on removing the stringy, slimy guts. Use a spoon or scoop to scrape out the remaining pulp from the pumpkin’s interior, making sure to get into all the crevices. If you’re planning to roast pumpkin seeds afterward, set aside a portion of the seeds now. Rinse them thoroughly under cold water to remove any residual string or pulp, then pat them dry with a paper towel. Proper cleaning of pumpkin seeds is vital for delicious roasting, as excess moisture can affect their crunchiness. As you clean, take care to discard all bits of pumpkin flesh, especially if you’re aiming for a neat appearance or preparing the pumpkin for decorative purposes. Being mindful of vacuum cleaner performance metrics can help you decide if a vacuum is useful for cleaning up pumpkin debris from carpets or floors.
Scrape out pumpkin guts, rinse seeds thoroughly, and pat dry for perfect roasting and a tidy workspace.
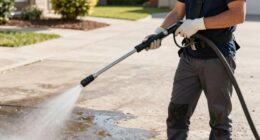
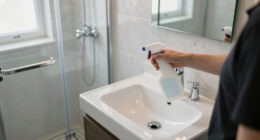
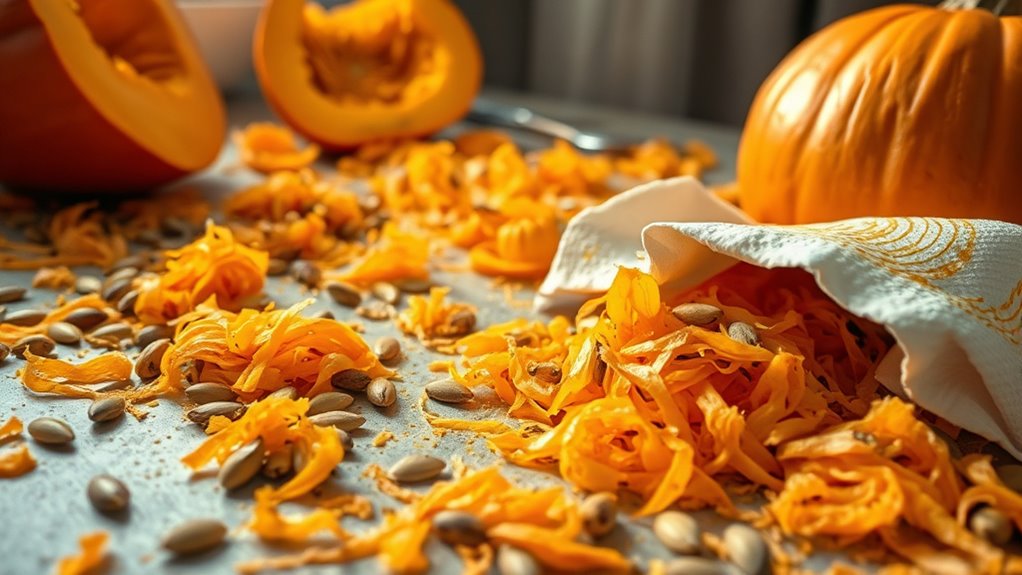
For the spills on your work surface or nearby areas, use a damp cloth or sponge to wipe down all surfaces. You might need a mild cleaning spray for sticky spots or stubborn pumpkin residue. Pay special attention to the table or countertop, especially if you’ve used carving tools that might have leaked or splattered pumpkin juices. To prevent any slipping hazards, dry the area thoroughly after cleaning. If pumpkin juice or bits have stained fabric or porous surfaces, consider spot cleaning with a gentle soap or stain remover to keep everything looking fresh and inviting.
Finally, tidy up your carving tools and any remaining pumpkin debris. Wash your knives and carving tools with warm, soapy water, making sure no pumpkin residue remains. This step not only keeps your tools in good shape but also prevents mold or bacteria growth. With everything cleaned up, you’ll feel accomplished and ready for the next phase—whether that’s roasting pumpkin seeds or decorating your space with the carved pumpkin. Remember, a clean workspace makes pumpkin carving more enjoyable and safer, especially when handling sharp tools and messy guts. Proper cleaning guarantees your pumpkin carving experience ends on a high note and sets the stage for more festive fun.
Top picks for "pumpkin carv aftermath"
Open Amazon search results for this keyword.
As an affiliate, we earn on qualifying purchases.
Frequently Asked Questions
How Do I Prevent Pumpkin Guts From Sticking to Surfaces?
To prevent pumpkin guts from sticking to surfaces, you should use pumpkin surface protection like plastic or newspaper under your carving area. This makes carving and cleanup easier. When you’re done carving, focus on quick carving area cleanup by scraping off excess guts and wiping down surfaces immediately. Wearing gloves can also keep your hands clean and prevent spreading pumpkin residue, making the entire process tidier.
What Natural Remedies Help Remove Pumpkin Stains?
If you’re wondering about natural stain removers for pumpkin dye removal, you’re in luck. You can try a mixture of baking soda and water to create a gentle scrub, or use lemon juice for its natural bleaching properties. Vinegar also works well to lift pumpkin stains without harsh chemicals. These methods are effective and eco-friendly, helping you get rid of pumpkin stains naturally and keep your surfaces looking fresh.
Can I Reuse Pumpkin Seeds After Carving?
You can definitely reuse pumpkin seeds after carving. Rinse them well to remove pumpkin guts and dry thoroughly. For pumpkin seed roasting, season and bake the seeds until crispy. To preserve pumpkin seeds for later, store them in an airtight container in a cool, dry place. This way, you keep your pumpkin seeds fresh for future snacks or recipes, making the most of your pumpkin carving effort.
How Do I Sanitize Carving Tools Properly?
To sanitize your carving tools properly, focus on effective disinfection methods to prevent bacteria spread. You should wash the tools with warm, soapy water first, then soak them in a solution of 70% rubbing alcohol or a diluted bleach mixture for a few minutes. Rinse thoroughly and dry completely to maintain tool maintenance. This guarantees your tools stay clean, safe, and ready for your next creative project.
What’s the Best Way to Store Leftover Pumpkin Guts?
Did you know that pumpkin guts are over 90% water? To store leftovers, use airtight storage containers to keep them fresh longer. For eco-friendly disposal, consider composting tips—adding pumpkin guts to your compost bin helps reduce waste. Keep the guts refrigerated and use them within a few days, or freeze portions in small containers for later use. This way, you minimize spoilage and make the most of your pumpkin leftovers.
Conclusion
Now that you’ve bravely navigated the messy maze of pumpkin guts and spills, your space is ready to shine brighter than a harvest moon. With a little soap and water, those stubborn remnants will vanish like shadows at dawn. Remember, cleaning up is just like tending a garden: it clears the way for fresh beginnings and cozy moments. So, roll up your sleeves, and let your pumpkin masterpiece sparkle like new—ready to dazzle all season long.