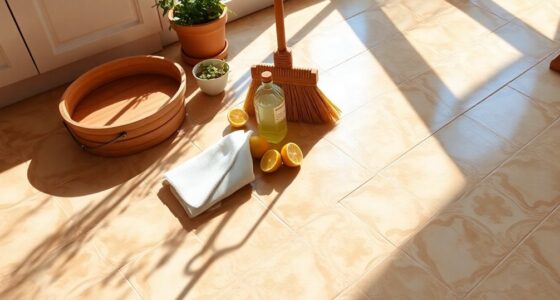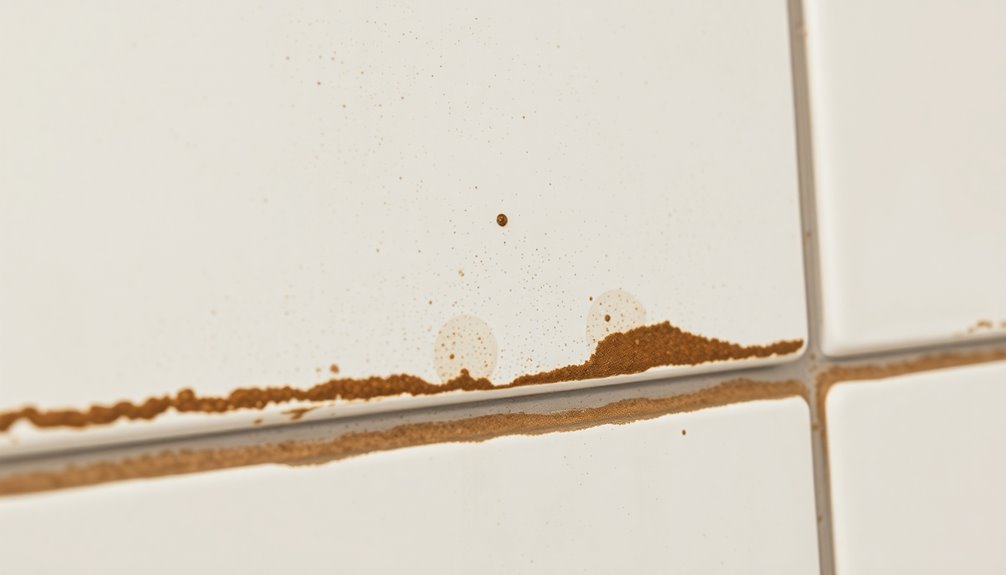
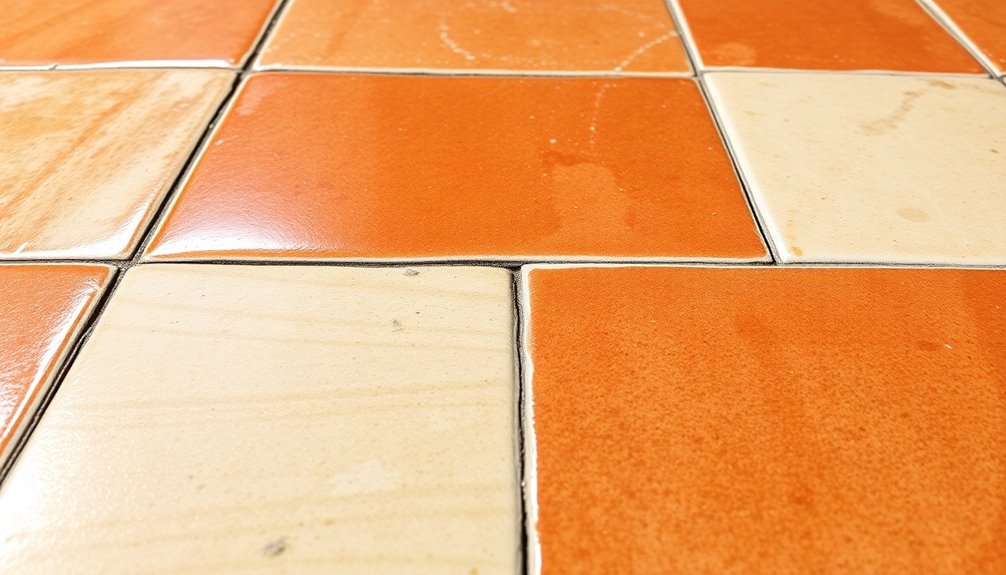
Grout stains over time due to its porous nature, which traps dirt, moisture, and residues. High-moisture areas like bathrooms are especially prone to mold and mildew. To restore its color, start by thoroughly cleaning the grout and considering color sealing. Keeping your grout seal maintained and using pH-neutral cleaners can help prevent future stains. If you're curious about detailed restoration techniques and maintenance tips, there's more to explore.
Key Takeaways
- Grout stains occur due to its porous nature, trapping dirt, moisture, and soap residues, especially in high-moisture areas like bathrooms.
- High foot traffic increases grout discoloration from accumulated oils, dirt, and wear on sealers, necessitating regular maintenance.
- Harsh cleaning products can damage grout and worsen discoloration; using pH-neutral cleaners is essential for longevity and appearance.
- To restore grout color, clean thoroughly, remove damaged grout, and apply a matching high-quality grout followed by sealing.
- For long-lasting results, consider re-colorizing with acid-resistant colorseal and implement regular sealing every 1-3 years.

Bissell Commercial Bissell BigGreen Commercial BG10 Deep Cleaning 2 Motor Extractor Machine
Country Of Origin : China
As an affiliate, we earn on qualifying purchases.
Understanding Grout Discoloration
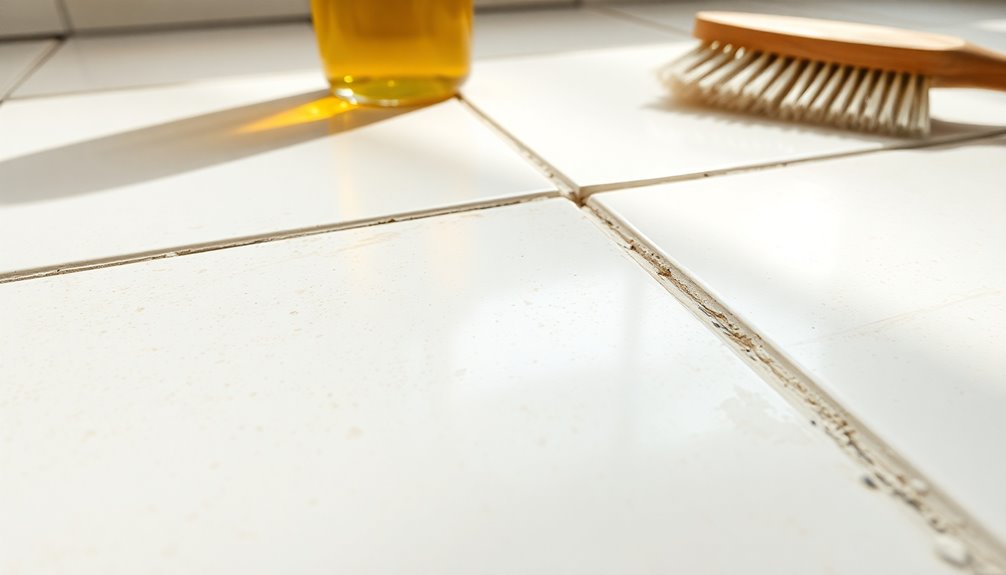
When you consider grout discoloration, it's important to understand how its porous nature can trap dirt and moisture, leading to stains over time.
The primary causes of grout discoloration include high-moisture environments like bathrooms, where mold and mildew thrive. Additionally, soap residues and hard water mineral deposits can dull grout surfaces, contributing to that unsightly look.
High-moisture areas like bathrooms promote mold and mildew, while soap residues and hard water dull grout surfaces over time.
Foot traffic and the use of harsh cleaning products can wear down the grout seal, making it more prone to staining. Moreover, using dry, seasoned wood for heating can help maintain a cleaner environment, reducing moisture levels that contribute to grout issues.
To combat these issues, regular maintenance is crucial. Using a quality grout sealer helps protect against moisture infiltration and staining, while routine cleaning with appropriate cleaning products keeps your grout looking fresh and vibrant.

Commercial Heated Carpet & Upholstery Extractor Machine, 160 PSI Hot Water Cleaner, 1.34 HP Vacuum, 149°F Heater, 4.8-Gal and 5.3-Gal Dual Tanks for Auto Detailing, Furniture & Carpet
Heated Deep Cleaning Performance: Powered by a 1.34 HP (1000 W) vacuum motor and 160 PSI solution pump,...
As an affiliate, we earn on qualifying purchases.
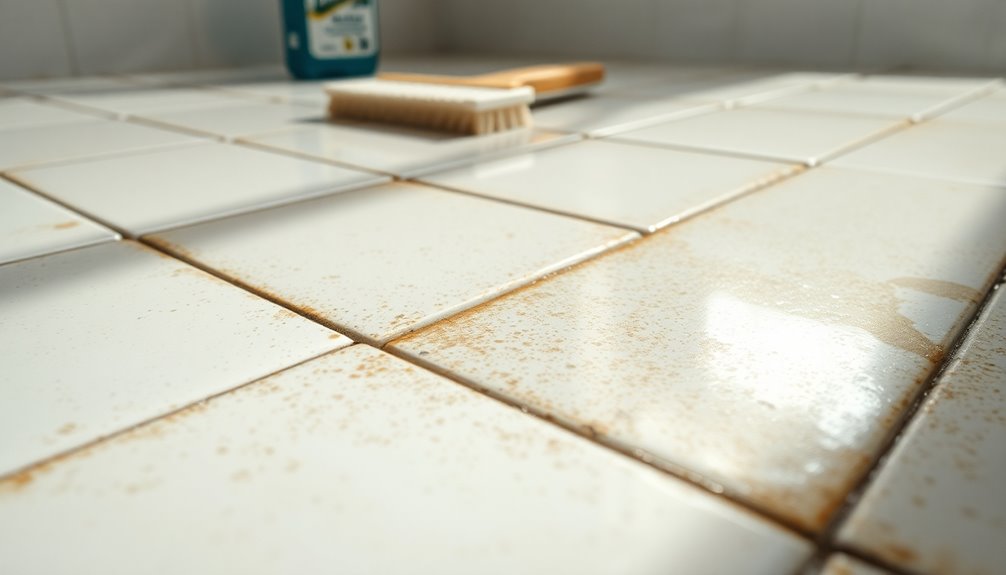
Common Causes of Grout Staining
Grout staining is often the result of several common factors that can considerably impact its appearance. Understanding these causes can help you prevent and address issues effectively.
| Cause | Description |
|---|---|
| Porous Grout | Grout's porous nature allows dirt and spills to penetrate. |
| High Traffic Areas | Increased wear from body oils and dirt leads to discoloration. |
| Improper Sealing | If grout isn't sealed correctly, it absorbs moisture, causing stains. |
Over time, these grout stains can accumulate and worsen if not addressed. Additionally, using harsh chemicals can further exacerbate discoloration, making it essential to maintain your grout properly. Being aware of these factors will help you keep your grout looking its best. Regular cleaning can also support a healthier lifestyle by promoting cleanliness and hygiene.

Commercial Carpet Cleaner Extractor 10-Gal Solution Tank 8-Gal Recovery Tank, 18” Cleaning Path, Low Noise Powerful Carpet Cleaner for Hotels, Offices, Large Areas & Professional Use
Powerful Deep Cleaning – Equipped with a 900 RPM motor and 1400W power, this commercial-grade carpet extractor effectively...
As an affiliate, we earn on qualifying purchases.
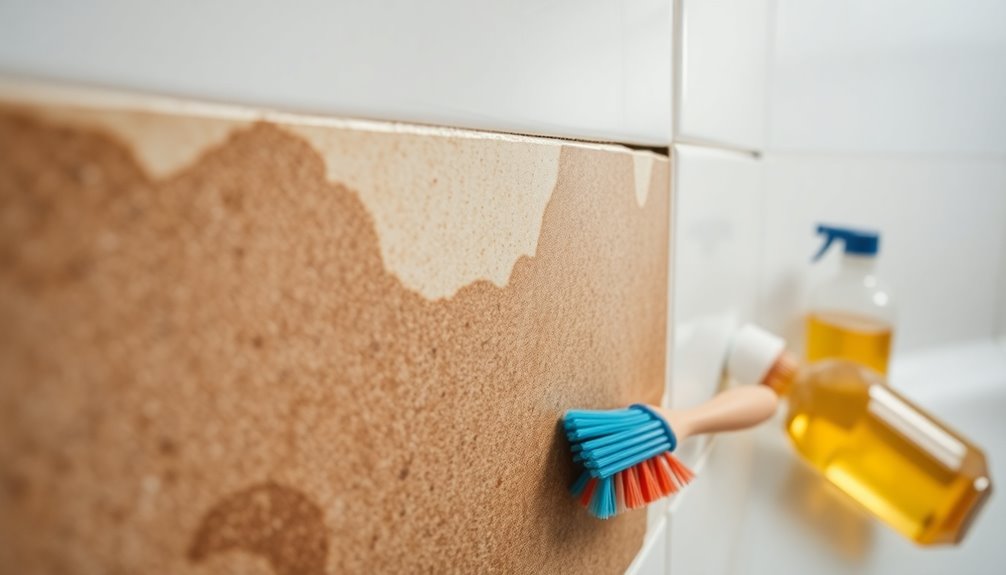
The Impact of Cleaning Products on Grout
While it's easy to reach for common household cleaners, many of these products can severely damage your grout.
Using harsh chemicals like bleach or ammonia can lead to degradation, making your grout more susceptible to staining over time.
Instead, consider these tips for effective cleaning:
- Choose pH-neutral cleaning products to maintain grout integrity.
- Avoid low-quality cleaners that leave residues, contributing to discoloration.
- Don't rely on DIY methods with harsh chemicals; they can worsen the problem.
- Maintain regular cleaning routines with appropriate products to extend the life of your grout.
- Additionally, natural materials can help create a more sustainable cleaning environment, reducing the impact on your grout and overall bathroom aesthetics.

Mytee - Contractor’s Special Heated Carpet Extractor
Water Resistant Switches Water resistant switches add protection against dust and water intrusion.
As an affiliate, we earn on qualifying purchases.
High Traffic Areas and Their Effects on Grout
As you navigate through your home, you'll likely notice that high traffic areas, such as hallways and entryways, take a toll on grout.
The constant foot traffic leads to the accumulation of body oils, dirt, and sweat, which can cause grout staining. In these zones, heavy foot traffic wears down grout sealers, increasing the risk of discoloration over time.
If you've used low-grade grout, you're particularly at risk, as it's more prone to pronounced discoloration compared to quality grout.
To combat this, regular cleaning and maintenance are vital. You should inspect and re-seal grout more often in high traffic areas to keep it looking fresh and prevent it from becoming worn or stained. Additionally, using high-quality grout can significantly reduce the chances of stains and prolong the life of your grout.
Benefits of Using Epoxy Grout
Opting for epoxy grout offers numerous advantages, especially when it comes to preventing staining and discoloration. Here are some key benefits:
- Non-porous nature reduces the risk of staining
- Highly durable and crack-resistant for high-traffic areas
- No need to seal the grout, simplifying maintenance
- Waterproof properties prevent moisture infiltration
With epoxy grout, you won't have to worry about mold and mildew growth beneath the surface. Plus, its long-lasting durability makes it a cost-effective investment, saving you from frequent replacements. Additionally, its non-porous nature contributes to superior performance in environments prone to moisture and staining.
Grout Maintenance and Sealing Best Practices

To keep your grout looking its best, you'll need to seal it regularly, especially in high-traffic areas. Using the right cleaning products, like pH-neutral options, can also help maintain its appearance and longevity. Staying on top of these practices will protect your grout from moisture and staining. Additionally, regular cleaning can prevent the buildup of dirt and grime that can lead to grout discoloration over time.
Regular Sealing Frequency
When it comes to maintaining the integrity of your grout, understanding the regular sealing frequency is crucial for preventing moisture and stains.
High-quality grout sealers should be applied every 1 to 3 years to effectively protect your grout color from fading and staining.
Regular testing of the sealer can help determine if it's time for a reapplication, especially in high-traffic or moisture-prone areas.
To guarantee proper cleaning and adhesion, clean your grout thoroughly before sealing.
- Apply sealers every 1 to 3 years
- Test sealers in high-traffic areas
- Clean grout before sealing
- Consider maintenance-free options like Starlike grout
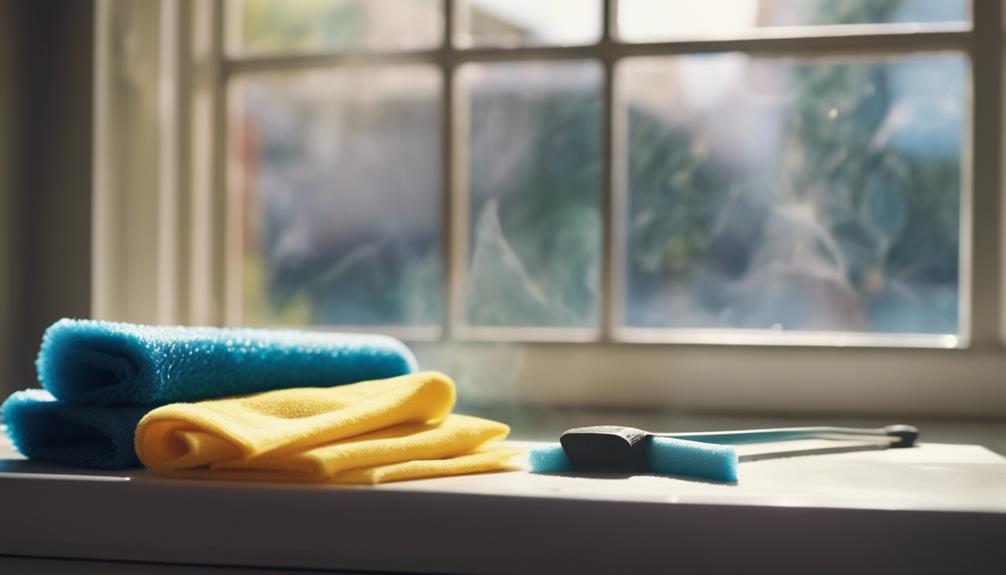
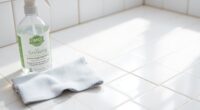
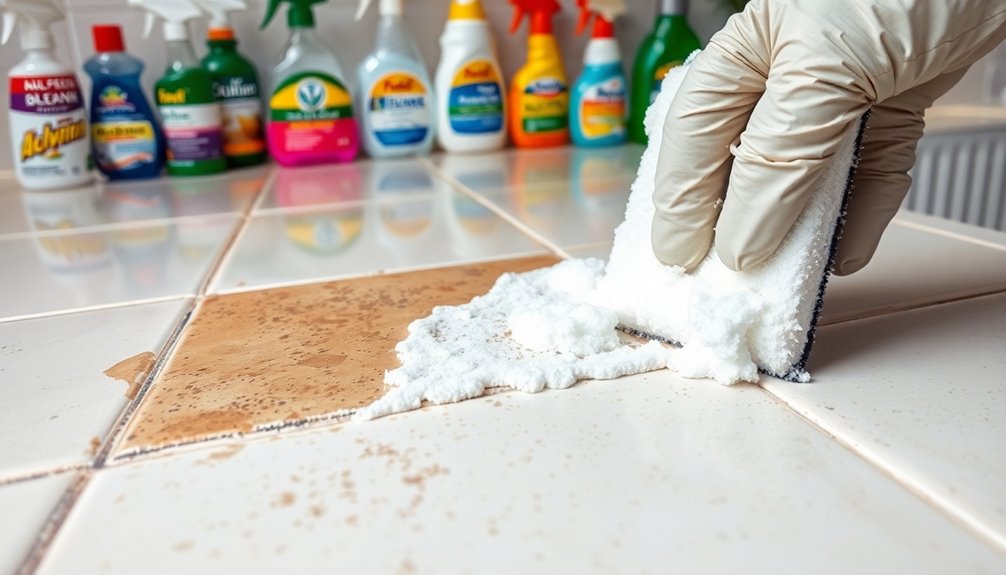
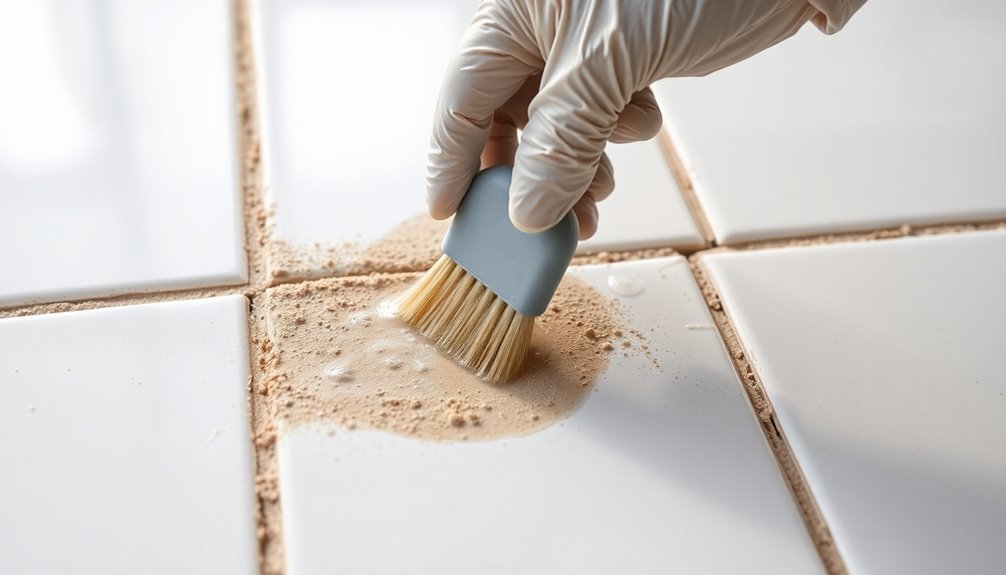
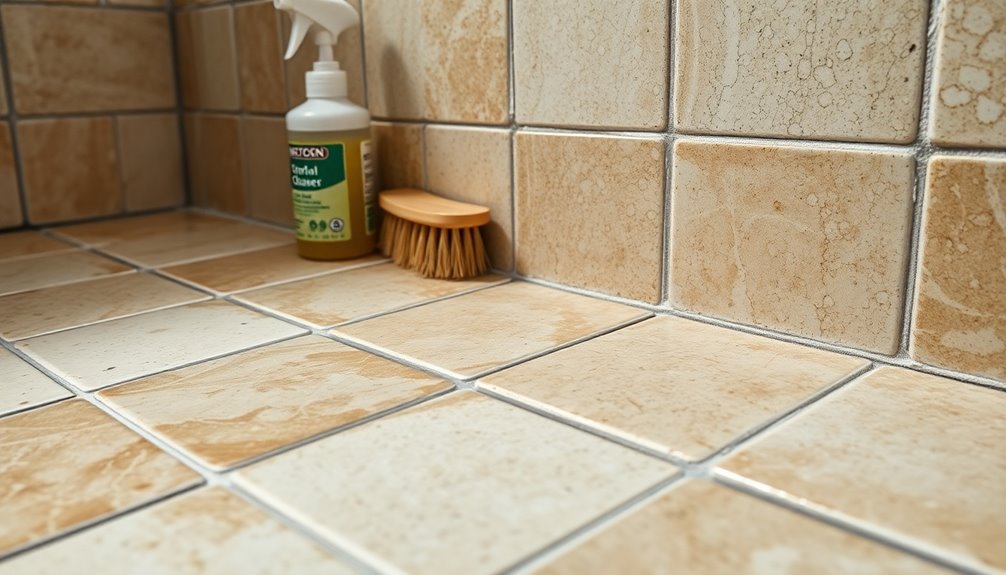
Appropriate Cleaning Products
Maintaining your grout's appearance and integrity starts with selecting the right cleaning products. pH-neutral cleaners are essential, as they won't degrade or discolor your grout like acidic or bleach-based options can.
When choosing a grout cleaner, look for those specifically designed to tackle stains and discoloration without harming the grout's Original Color. Always test any new product on a small, inconspicuous area first to ascertain compatibility.
Regular sweeping or vacuuming can help remove loose dirt, while mopping with clean water prevents grime from embedding in grout lines.
For stubborn stains, consider hiring professional cleaning services that use specialized solutions and equipment to effectively restore your grout's color and remove deep-set stains that typical household cleaners might miss. Additionally, maintaining a clean environment can minimize dirt and pollutants, enhancing indoor air quality in your home.
Initial Assessment and Actions for Stained Grout
To tackle stained grout, start by identifying the sources of staining, like moisture or improper installation.
Use effective grout removal techniques to clear the affected areas, which will help you assess any underlying issues.
This initial assessment is essential for planning your next steps in restoring your grout. Additionally, inadequate maintenance can lead to more frequent staining and the need for restoration.
Identify Staining Sources
How can you effectively identify the sources of staining in your grout? Start by observing the areas with stained grout and analyzing common culprits.
Consider these potential staining sources:
- Spills from food, beverages, or cleaning products
- Humidity and moisture, particularly in bathrooms
- Underlying surfaces with metal or contaminants
- Ferrous oxide leaching from natural stone tiles
Next, check for discoloration patterns. If you notice recurring stains, it might indicate persistent issues.
Don't forget to assess whether your grout is sealed; unsealed areas are more likely to absorb stains. Additionally, regular preventive maintenance can help identify and mitigate staining issues before they become severe.
Grout Removal Techniques
Evaluating stained grout requires careful observation and targeted actions. Start by removing stained sections to investigate underlying issues and allow grout lines to dry for several days.
This helps you monitor moisture retention or discoloration before deciding on further actions. Keep the grout joints open to assess the color of the grout and identify any persistent stains.
If problems continue, you might need to remove tiles in affected areas for a thorough inspection and to check for moisture issues.
Remember, newly applied grout may initially appear mismatched, but it typically blends better as it dries. Additionally, maintaining proper energy monitoring features can help manage humidity levels in your home, reducing the risk of grout staining.
If extensive staining or installation issues are discovered, don't hesitate to consult professionals for expert advice on grout repair procedures.
The Grout Repair Process
When you decide to tackle grout repair, the process starts with removing any stained or damaged grout, often using a grout saw or similar tool. This guarantees a clean surface for reapplication.
Once you remove stained grout, allow the joints to dry completely for several days. This step prevents moisture retention and guarantees proper adhesion of new grout.
Allowing the joints to dry completely for several days is essential for ensuring proper adhesion of new grout.
- Use high-quality grout that matches the existing color or a new shade.
- Apply the grout uniformly to avoid mismatched areas.
- Seal the newly applied grout with a quality grout sealer.
- Regular maintenance, like cleaning and resealing every few years, can help prevent future stains since grout can become discolored over time.
Techniques for Re-Colorizing Grout
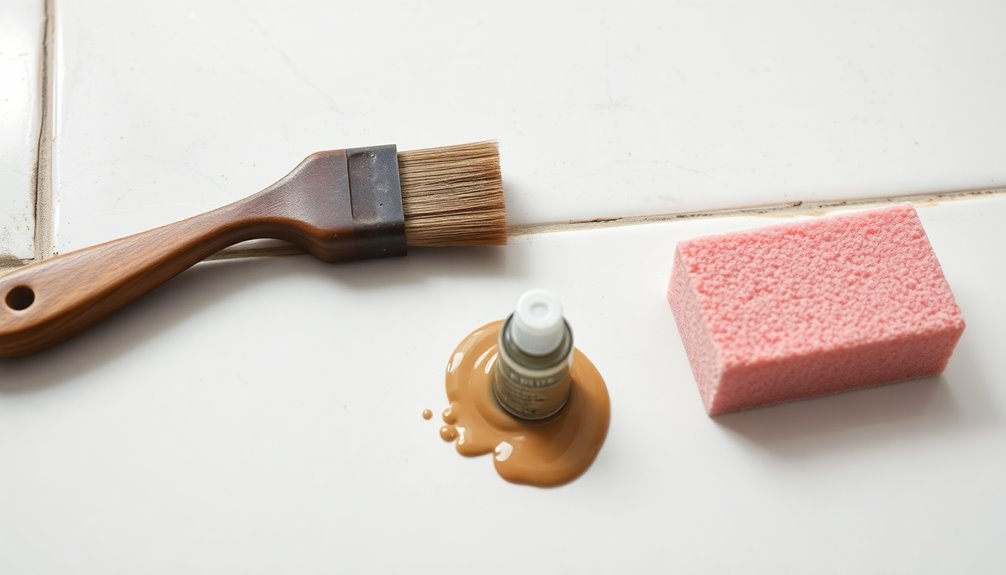
Re-colorizing grout can breathe new life into your tiled surfaces, especially if you've been dealing with stains or discoloration.
Start by thoroughly cleaning the grout to remove dirt and old sealers, ensuring the new colorseal adheres properly. Once it's clean, apply a long-lasting colorseal that's acid-resistant to protect against future grout stains.
Use a small brush or sponge for precise application, avoiding excess on the surrounding tiles for a uniform finish. After applying the grout stain, wipe off any excess with a damp cloth and let it dry completely before sealing to enhance durability.
Regular maintenance, like reapplying sealant every few years, is key to preserving the color and integrity of your re-colored grout.
Preventative Measures for Grout Longevity
To guarantee your grout lasts and looks great, it's vital to adopt preventative measures that protect it from moisture and staining.
Follow these tips to keep your grout in top shape:
- Seal cement-based grouts with high-quality grout sealers every 1-2 years to minimize moisture absorption.
- Wipe down tiles and grout after each use to eliminate excess moisture.
- Facilitate proper ventilation in bathrooms to reduce humidity and prevent grout discoloration.
- Use a squeegee post-shower to prevent water pooling, which exacerbates staining.
Implementing a routine cleaning schedule with pH-neutral cleaners will further maintain your grout's appearance and prevent dirt buildup.
Frequently Asked Questions
Can Grout Color Be Restored?
Yes, you can restore grout color!
Start by cleaning the grout thoroughly to remove dirt and old seals. Once it's clean, you can apply a color sealing product in a shade that matches or contrasts with your tiles.
This not only changes the grout's hue but also protects it from future stains.
With proper maintenance, including reapplying sealants every few years, your restored grout can last up to 15 years!
How to Fix Grout Discoloration?
Fixing grout discoloration is like turning back time for your floors!
Start by scrubbing the grout lines with a pH-neutral cleaner and a stiff brush to remove dirt. If it still looks dull, apply a quality grout stain to restore its original hue.
For tough cases, you may need to regrout completely. Don't forget to seal it afterward and maintain it regularly to keep that fresh look for years to come!
How Do You Get Tile Grout Back to Its Original Color?
To get your tile grout back to its original color, start by cleaning the grout lines using a pH-neutral cleaner and a stiff brush.
Once it's clean, apply a grout stain or color seal that matches your original grout.
For tough stains, try a baking soda and vinegar mixture, letting it sit for about 15 minutes before scrubbing.
Regular maintenance and re-sealing every few years will help keep your grout looking fresh and vibrant.
How Do You Fix Stained Grout?
Oh sure, let's ignore that stained grout like it's the elephant in the room!
To fix it, you'll want to clean the surface with a vinegar-water mix or a specialized grout cleaner. If stains are stubborn, scrub with a baking soda paste.
After cleaning, apply a grout stain or color seal for that fresh look. If all else fails, call in the pros with their fancy equipment!
Regular maintenance helps too.
Conclusion
So, you thought that pristine white grout would stay that way forever, didn't you? Irony's a funny thing! With a little TLC and some savvy cleaning choices, you can turn back the clock on your stained grout. Remember, it's not just about scrubbing; it's about prevention too. Who knew that maintaining your grout could be such a wild adventure? Embrace the journey, and soon enough, your grout will be the envy of your friends—at least until they get their hands on some spaghetti!