To install a pressure-side pool cleaner, start by gathering the right tools and checking your pool components for damage or debris. Position the cleaner in the water, near the middle for even coverage. Connect the hoses securely to the skimmer and pump, then adjust the hose length to fit your pool size, avoiding kinks or tangles. Turn on the pump, check for leaks, and verify the cleaner moves smoothly. Keep an eye on performance and maintenance tips as you go along.
Key Takeaways
- Confirm the pool’s water chemistry and levels to ensure optimal operation and prevent damage during installation.
- Collect all necessary tools and inspect components for damage or missing parts before beginning.
- Attach the hose securely to the cleaner and pump, ensuring proper flow direction and no kinks or leaks.
- Position the cleaner near the pool’s center and adjust hose length for even coverage and proper movement.
- Check all fittings and connections for tightness, then power on the pump to test for leaks and effective cleaning performance.
Gathering Necessary Tools and Equipment

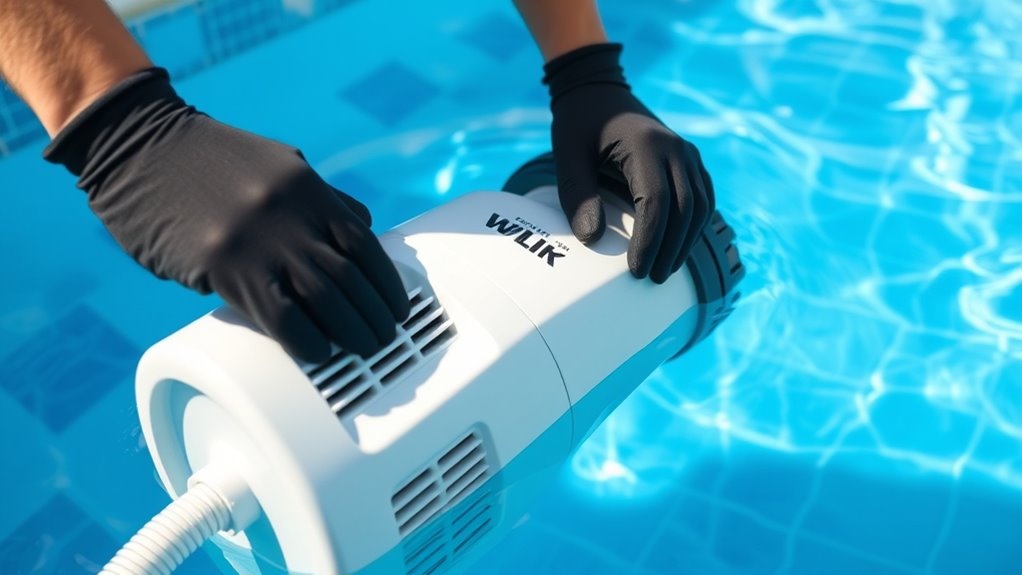
Before you begin installing your pool cleaner, it’s essential to gather all the necessary tools and equipment. Confirm your pool’s chemical balance is optimized, as proper pH and sanitizer levels help prevent debris buildup and protect your equipment. You’ll need basic tools like screwdrivers, pliers, and an adjustable wrench, along with the cleaner’s hoses, nozzles, and mounting hardware. Don’t forget safety precautions—wear gloves and eye protection to avoid injuries during installation. Check that your pool’s water level is appropriate, since low levels can cause malfunctions. Having everything ready before you start streamlines the process and reduces the risk of missing essential parts. Proper preparation ensures a safe, efficient installation, setting the stage for your cleaner to operate effectively. Additionally, understanding the trustworthiness of the brand can give you confidence in your purchase and installation process. Ensuring your equipment maintenance is up to date can also prevent unexpected issues during operation. To further ensure a smooth setup, consider reviewing installation instructions carefully beforehand. Performing a quick inspection of components can help identify any damaged or missing parts before starting, which is especially important for preventing malfunctions during operation.
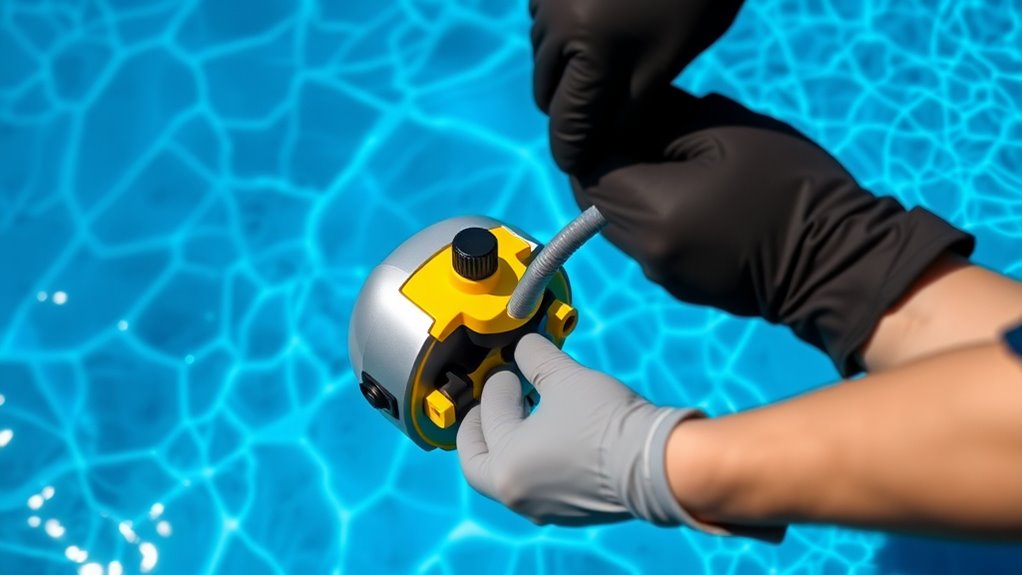
Inspecting Your Pool and Cleaner Components

Inspecting your pool and cleaner components thoroughly before installation guarantees everything is in proper working order. Begin by checking the pool’s water chemistry to ensure pH, alkalinity, and sanitizer levels are balanced, which helps prevent damage to the cleaner. Examine the cleaner’s hoses, connections, and brushes for cracks, blockages, or wear, replacing any damaged parts. Pay attention to safety precautions by removing obstacles around the pool area and confirming that electrical connections are dry and secure. Ensure the skimmer and return jets are clear, allowing proper water flow. A thorough inspection minimizes future problems and maximizes cleaning efficiency. Additionally, verifying the contrast ratio of your setup can improve the visibility of the cleaner’s operation in varying lighting conditions. Incorporating vertical storage solutions can help organize tools and replacement parts for easier access during maintenance. It’s also important to check that the proper water flow is maintained to ensure the cleaner operates effectively and efficiently. Regularly monitoring the environmental impact of your pool setup can help you adopt more sustainable practices and reduce your ecological footprint. Ensuring your pool’s cybersecurity measures are robust can prevent unauthorized access to your pool’s control systems, safeguarding your investment. Taking these steps now saves you time and effort during setup, ensuring your pressure-side cleaner operates smoothly from the start.
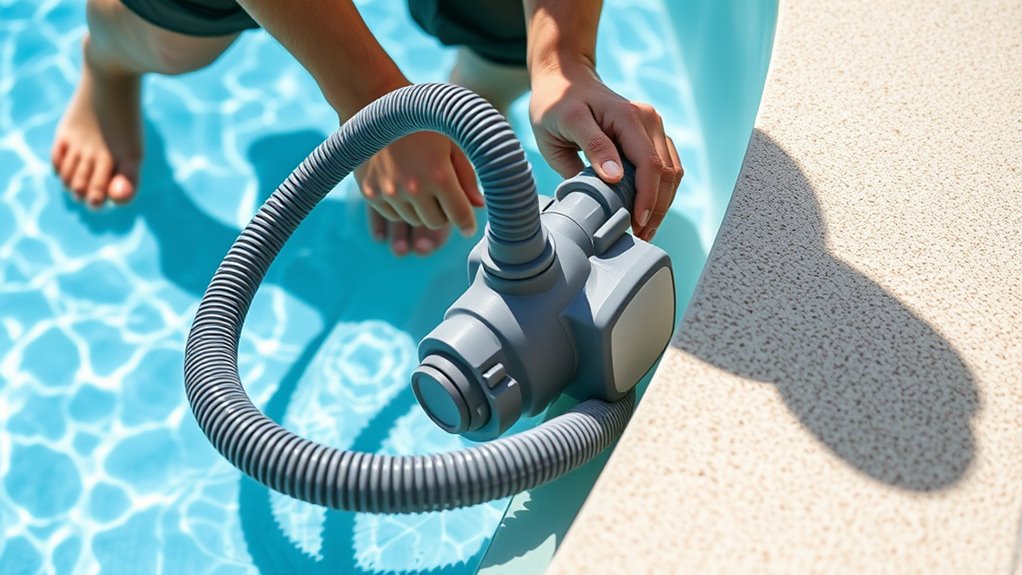
Positioning the Pool Cleaner in the Water
To guarantee your pool cleaner works efficiently, you need to position it at the correct depth and align the hose properly. Make sure it sits stably in the water to prevent it from drifting or getting stuck. We’ll go over tips to help you find the right spot and keep it steady during operation.
Proper Depth Placement
Positioning your pool cleaner at the correct depth is essential for effective cleaning. You want the cleaner to operate in an area where it can reach all surfaces without floating too high or sinking too low. Typically, place the cleaner near the middle of the pool to ensure it covers the entire surface area evenly. Check your pool’s water level to maintain proper depth, as improper levels can hinder performance. Also, consider your pool chemistry; balanced chemicals help prevent debris buildup and protect your equipment. Always follow safety precautions, like turning off pumps before adjusting the cleaner’s position, to avoid accidents. Proper depth placement guarantees your cleaner works efficiently, prolongs its lifespan, and keeps your pool sparkling clean. Additionally, understanding your sneaker culture can help you appreciate the importance of well-maintained equipment and accessories for your pool area. Maintaining the right water level is also crucial, as it directly impacts the cleaner’s ability to function optimally and can prevent unnecessary wear and tear. Ensuring your pool’s filter system is clean and functioning correctly supports the cleaner’s efficiency and overall pool health. Furthermore, staying informed about AI advancements in automation can inspire you to adopt smarter pool maintenance solutions in the future. Being aware of proper pool maintenance practices can also help extend the life of your equipment and ensure consistent cleanliness.
Correct Hose Alignment
Proper hose alignment is key to ensuring your pool cleaner moves efficiently throughout the water. You must connect the hose correctly and set the flow direction to optimize coverage and prevent tangles. Start by attaching the hose securely to the cleaner’s hose connection, making sure it’s snug. Next, position the hose so that water flows smoothly from the skimmer or booster pump, directing the cleaner’s movement. Use this table to help you understand the importance of hose setup:
| Connection Point | Flow Direction | Effect on Cleaner |
|---|---|---|
| Skimmer Intake | Toward cleaner | Better coverage |
| Pump Outlet | Away from cleaner | Prevents tangling |
| Hose Joint | Secure connection | Maintains flow |
| Water Pressure | Consistent flow | Efficient cleaning |
Additionally, ensuring the hose is free of kinks and twists helps maintain optimal water flow and improves cleaning efficiency. Regularly inspecting the hose for wear and tear can prevent leaks and ensure long-term performance.
Stable Positioning Tips
Achieving stable positioning of your pool cleaner is essential for effective cleaning. To do this, ensure the cleaner is centered in the pool and the hose is free of tangles or knots. Proper pool chemistry helps maintain water clarity and reduces debris, making it easier for the cleaner to operate efficiently. Before starting, check that all safety precautions are in place, such as turning off power when adjusting the equipment. Position the cleaner so it can reach all pool surfaces without hanging on steps or corners. Adjust the hose length if necessary to prevent the cleaner from drifting to one side. Regular maintenance of your pool cleaner, including cleaning filters and inspecting hoses, can improve its stability and performance. Ensuring the correct hose length is crucial for optimal movement and stability. Additionally, understanding on-device AI capabilities can help in troubleshooting and optimizing cleaner performance. Recognizing the importance of digital literacy programs can support seniors in maintaining their devices effectively, leading to more reliable operation. Incorporating sound healing science principles such as regular testing and calibration can further enhance the device’s stability. Stable positioning enhances cleaning performance and prolongs the lifespan of your equipment, while also maintaining safe swimming conditions.
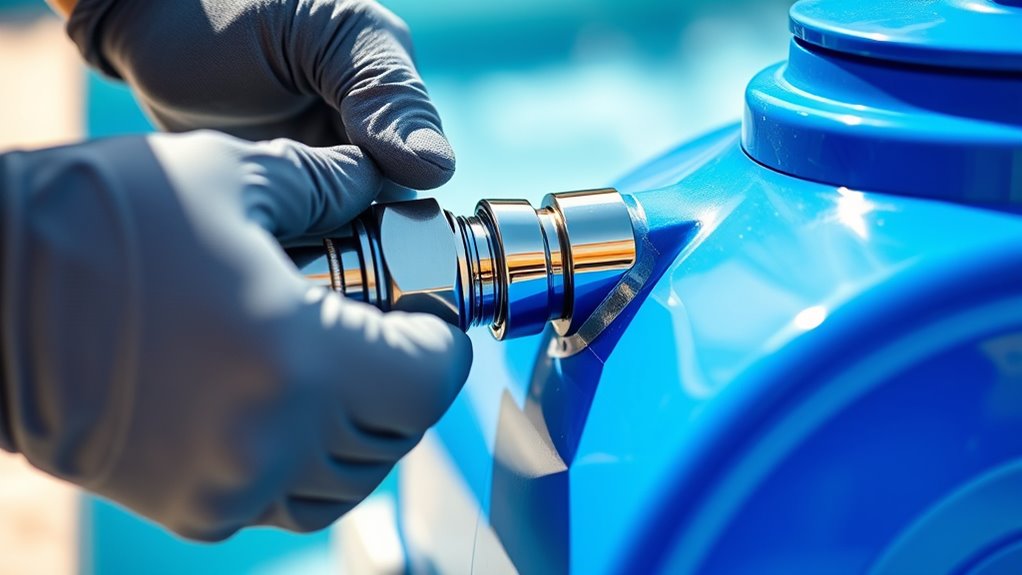
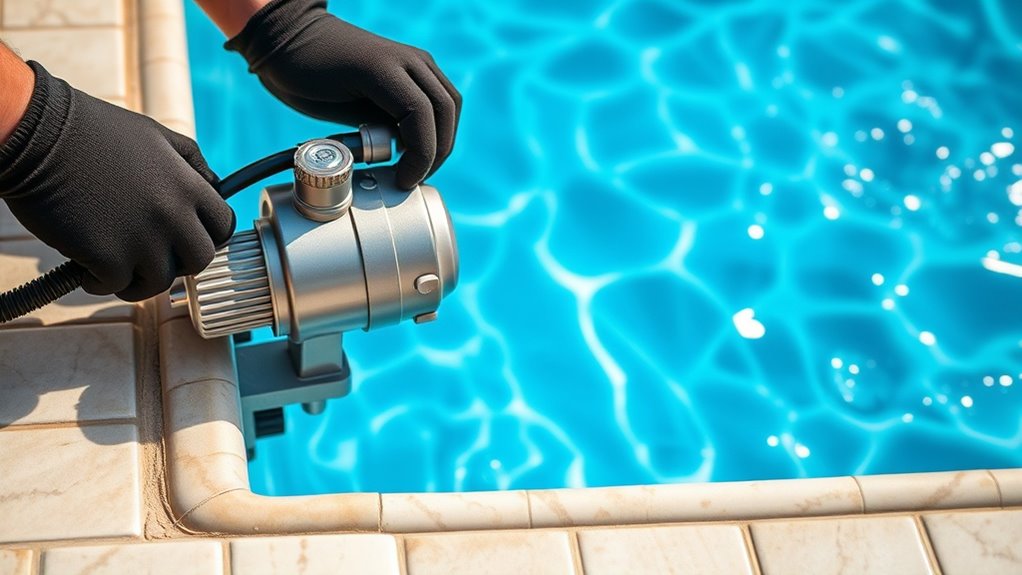
Connecting the Hoses and Skimmer Fittings

Connecting the hoses and skimmer fittings is a crucial step that guarantees your pool cleaner functions correctly. Proper setup ensures effective cleaning while maintaining pool safety and chemical balance. Make sure all connections are secure, preventing leaks that could hinder performance. As you attach the hoses, visualize them flowing smoothly from the skimmer to the cleaner, avoiding kinks or twists. Keep in mind, a well-connected system helps maintain water circulation, supporting pool safety standards. Also, check that the fittings fit tightly to avoid debris bypassing the cleaner. Properly secured connections can also minimize the risk of pressure loss during operation. Additionally, inspecting fittings regularly can prevent potential leaks and prolong the lifespan of your equipment. Maintaining correct water flow is essential for optimal cleaning efficiency and energy use. It’s helpful to refer to the installation instructions specific to your model for best results. Here’s what to keep in mind:
- Ensure hoses are free of tangles or knots
- Attach fittings snugly without forcing
- Position hoses for optimal water flow
- Verify connections don’t obstruct skimmer operation
- Confirm all connections are properly secured to prevent leaks and ensure efficient operation
Attaching the Return Line to the Cleaner
Once you’ve secured the hoses and skimmer fittings, the next step is attaching the return line to the cleaner. Make certain the connection is tight to prevent leaks that can disrupt pool chemistry and reduce cleaning efficiency. Before proceeding, check that the pool’s chemical levels are balanced, as improper pool chemistry can cause equipment corrosion or buildup. Follow the cleaner manufacturer’s instructions carefully to avoid damaging the fittings. Always wear safety precautions, such as gloves, to protect yourself from sharp edges or chemical residues. Confirm the return line is firmly connected and secure, as loose fittings can cause water flow issues. Proper attachment promotes ideal circulation, helping maintain clear water and safe swimming conditions.
Ensuring Proper Hose Arrangement and Flow Path
To guarantee effective cleaning and proper water circulation, you need to arrange the hoses and flow path correctly. First, ensure the hoses are flexible enough to reach all pool areas without kinking or tangling. Proper flow optimization depends on keeping the hoses straight and avoiding sharp bends. Connect the hoses securely, making sure they’re aligned with the cleaner’s inlet and the skimmer or dedicated suction line. Check that the hose length matches your pool size, preventing too much slack or tension. Regularly inspect for leaks or blockages that could disrupt flow. Remember, a well-arranged hose system promotes better cleaning coverage and prevents strain on your equipment.
- Flexible hoses that bend easily without kinking
- Hoses laid out straight with minimal bends
- Secure, tight connections at all fittings
- Hose length tailored to pool size
Adjusting the Cleaner for Optimal Movement
After arranging the hoses properly, it’s important to fine-tune your pool cleaner to move efficiently and cover all areas. Start by adjusting the hose length so the cleaner reaches the pool floor and walls without excess slack or tightness. Too long, and the cleaner may stall or miss spots; too short, and it won’t reach all areas. Next, check the water flow; ensure it’s strong enough to propel the cleaner smoothly across the surface. If water flow is weak, tighten fittings or clear obstructions to improve pressure. Proper hose length and ideal water flow work together to enhance movement, ensuring your cleaner navigates the pool effectively. Making these adjustments will help your cleaner clean thoroughly and operate efficiently.
Turning on the Pool Pump and Checking for Leaks
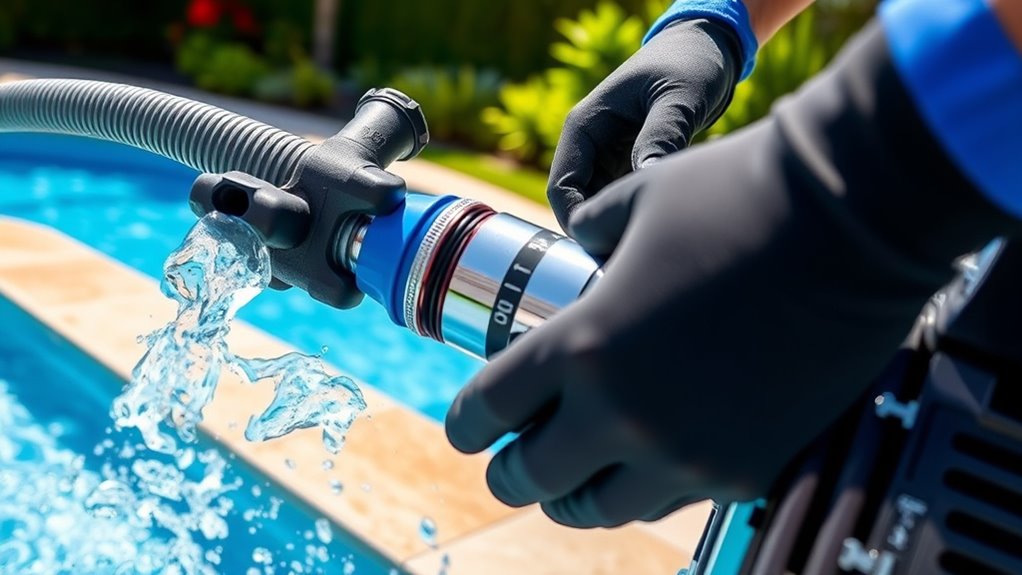
Before turning on the pool pump, double-check all hose connections and fittings to guarantee they’re securely tightened. This assures no leaks develop, which could affect pool chemistry and efficiency. As you power on the pump, watch for any signs of leaks around fittings or hoses. Keep safety precautions in mind: avoid loose clothing or jewelry near moving parts. Observe the water flow to confirm proper circulation. Check the pressure gauge to ensure it’s within the recommended range, indicating the cleaner is working correctly. Also, verify that no hoses are kinked or obstructed. Properly functioning equipment helps maintain balanced pool chemistry and prevents accidents. Taking these steps ensures your pressure-side cleaner operates smoothly and safely from the start.
Testing the Cleaner’s Operation and Coverage
Once you’ve turned on the pool pump and checked for leaks, it’s time to make certain the cleaner operates effectively. Start by observing its movement across the pool surface, ensuring it covers all areas evenly. Check that the cleaner picks up debris without getting stuck. Test the water temperature, as extreme heat or cold can impact the cleaner’s performance. Also, verify that the pool chemical levels are balanced; improper chemical balance can cause buildup or hinder cleaning. Keep an eye on any unusual noises or irregular movements, which may indicate a blockage or mechanical issue. By monitoring these factors, you ensure your pressure-side pool cleaner works efficiently, providing thorough coverage and clean water every time you use it.
Finalizing Setup and Routine Maintenance Tips

To keep your pool cleaner working smoothly, establish a regular cleaning schedule that fits your pool’s usage. Make it a habit to inspect parts like brushes and filters, replacing them when needed to guarantee ideal performance. Staying on top of routine maintenance helps prevent major issues and extends the life of your cleaner.
Regular Cleaning Schedule
Establishing a consistent cleaning schedule guarantees your pool remains sparkling and well-maintained. Regular upkeep helps balance pool chemistry and prevents algae buildup. To keep everything running smoothly, consider these routine tasks:
- Run your pressure-side cleaner at least twice a week to remove debris effectively
- Check and adjust pH and chlorine levels to ensure safe swimming conditions
- Inspect the cleaner’s hoses and connections for wear or damage
- Follow safety precautions, like turning off the pump before maintenance
Sticking to this schedule minimizes contaminants and extends the life of your equipment. By maintaining proper pool chemistry and adhering to safety precautions, you’ll enjoy a clear, inviting pool all season long. Consistency is key to hassle-free pool care.
Inspect and Replace Parts
Inspecting and replacing parts is essential to keep your pool cleaner operating efficiently and prevent costly repairs. Regular checks ensure that all components, like hoses, brushes, and filters, are in good condition. When inspecting, look for signs of wear, cracks, or blockages that could hinder performance. Maintaining proper pool chemical balance helps prevent algae buildup, which can clog parts and reduce cleaning effectiveness. If parts are damaged or worn out, replace them promptly to avoid further issues. This routine maintenance not only extends the lifespan of your cleaner but also guarantees ideal algae prevention and consistent cleaning. By staying proactive, you keep your pool sparkling clean and avoid unexpected breakdowns, saving time and money in the long run.
Frequently Asked Questions
Can I Use a Pressure-Side Cleaner With a Saltwater Pool?
You might wonder if a pressure-side cleaner works well with your saltwater pool. The good news is, most pressure-side cleaners are saltwater compatible, but you should check the manufacturer’s guidelines to guarantee cleaning efficiency isn’t compromised. Saltwater can be gentle on equipment if maintained properly, so as long as your cleaner is designed for saltwater pools, you’ll enjoy effective cleaning without worries about corrosion or performance issues.
How Often Should I Replace Parts on the Pressure-Side Cleaner?
You should follow a maintenance schedule for your pressure-side cleaner, checking parts regularly. Replacement frequency depends on usage and water conditions, but typically, you’ll need to replace brushes and gears every 1-2 years. Inspect hoses and seals monthly, replacing them as needed to guarantee peak performance. Staying proactive with maintenance helps prevent breakdowns and extends the life of your cleaner, saving you money and effort in the long run.
Is It Necessary to Backwash My Pool After Installing the Cleaner?
Imagine you’re excited to enjoy your pool, but after installing a pressure-side cleaner, your water looks murky. You might wonder if you need to backwash. Typically, backwashing isn’t necessary unless your pool water chemistry is off or your pump needs maintenance. Properly balanced water and clean filters guarantee your cleaner works efficiently. Regular pump maintenance keeps everything running smoothly, so your pool stays crystal clear without extra backwashing.
What Safety Precautions Should I Take During Installation?
When installing a pressure-side pool cleaner, you should prioritize safety. Always guarantee electrical safety by turning off power before handling any electrical components. Use proper tool handling techniques to avoid injury, and wear protective gear like gloves and goggles. Carefully read the instructions, and if you’re unsure about any step, consult a professional. Taking these precautions helps prevent accidents and ensures a safe and successful installation.
Can I Operate the Cleaner During Pool Use or Should It Be Off?
You should turn off the cleaner during pool use to guarantee safe pool circulation and avoid interference with swimming. Operating the cleaner while people are in the pool can disrupt circulation and potentially cause accidents or damage. It’s best to run the cleaner when the pool is empty or during designated cleaning times. This approach keeps the water clear, maintains proper circulation, and ensures safe, efficient cleaner operation.
Conclusion
Now that you’ve installed your pressure-side pool cleaner, you’ll enjoy a spotless pool with less effort. Remarkably, some experts believe that proper setup can even extend your cleaner’s lifespan by preventing unnecessary wear. Regular maintenance and adjustments ensure it works efficiently, saving you time and money. Trust the process, and your pool will stay pristine all season long—making your backyard a true oasis you can confidently relax in.