
Before sealing grout, you should thoroughly clean the surface to remove dirt, mold, and stains, ensuring the sealant adheres properly and lasts longer. Use a brush with baking soda and vinegar or a commercial cleaner to scrub away grime. Rinse well and let the grout dry completely—around 24 hours—to prevent moisture from trapping. Properly preparing your grout makes a big difference; continue to discover the best techniques for long-lasting results.
Key Takeaways
- Clean grout thoroughly before sealing to remove dirt, mold, and stains for optimal sealant adhesion.
- Use scrubbing brushes and household cleaners like baking soda or vinegar for effective cleaning.
- Ensure grout is completely dry after cleaning to prevent moisture entrapment under the sealant.
- Schedule cleaning as part of regular maintenance or immediately before sealing for best results.
- Avoid sealing over dirty or damp grout to prevent sealant failure and mold growth.
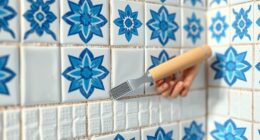
Have you ever noticed how grout lines in your tiled surfaces can quickly stain or become moldy? It’s a common issue that can make your entire space look dingy and neglected. Before you jump into sealing, it’s vital to understand that a clean surface is key to achieving the best sealing benefits. Dirt, soap scum, mold, and stains can’t be effectively sealed if they’re left on the grout. That’s why proper cleaning is the first step in the process. Sometimes, DIY techniques are enough to restore your grout to a clean, fresh state, saving you time and money. Using simple household ingredients like baking soda and vinegar can do wonders for removing surface stains and mold. Scrubbing with a firm brush helps loosen debris and dirt embedded in the grout lines. Once you’ve scrubbed thoroughly, rinse the area well and allow it to dry completely. Sealing over dirty or damp grout can trap grime and moisture, leading to further staining or mold growth, which defeats the purpose of sealing altogether. Additionally, ensuring proper ventilation and airflow during the cleaning process helps prevent residual moisture that could compromise the sealant’s effectiveness.
Knowing when to clean your grout before sealing is equally important. Ideally, you want to perform this cleaning as part of your regular maintenance schedule or right before applying a new sealant. If you notice existing stains or mold, take the time to clean and restore the grout first. This step isn’t just about appearance; it’s about protecting your investment. Properly cleaned grout guarantees that the sealing process provides essential sealing benefits, such as waterproofing, stain resistance, and ease of maintenance. If you skip the cleaning step and seal over dirt or mold, your efforts won’t last long, and you could even trap bacteria or moisture beneath the sealant.
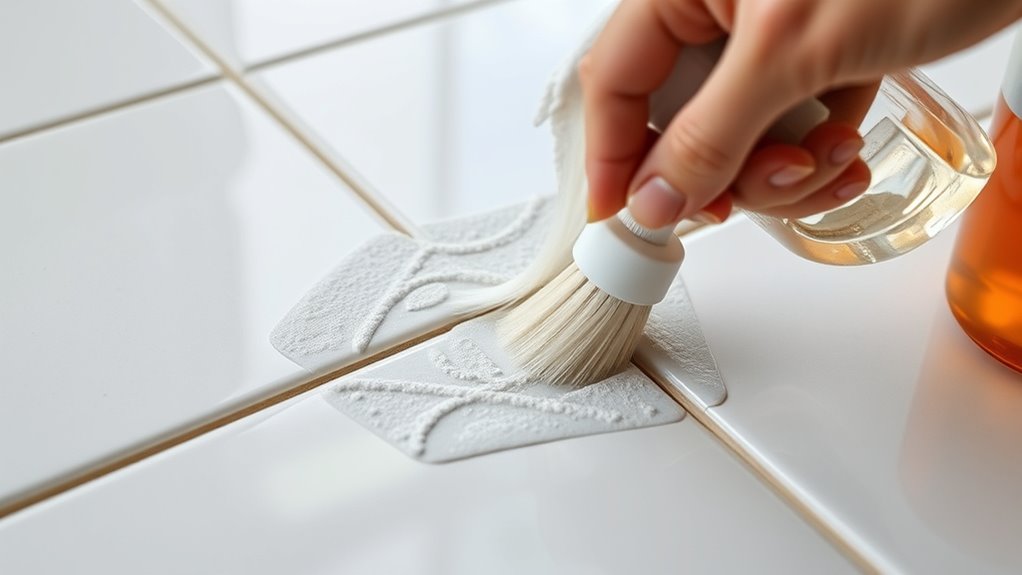
In terms of sealing techniques, DIY options are widely available and straightforward. Using a high-quality grout sealer, you can apply it with a brush or spray, making sure to cover all grout lines thoroughly. After applying, it’s vital to let the sealer cure as directed—usually 24 hours—before exposing the surface to water or heavy use. Remember, the sealing benefits are maximized when your grout is clean beforehand. A clean, dry surface allows the sealer to penetrate deeply, creating a protective barrier that keeps your tiled surfaces looking fresh and new for longer. By taking the time to properly clean your grout first, you ensure that your sealing efforts are effective, durable, and worthwhile.
Frequently Asked Questions
How Often Should Grout Be Sealed for Optimal Protection?
You should seal your grout every 1 to 2 years for maximum protection. Regular grout maintenance involves sealing at this frequency to prevent stains and moisture damage. Keep an eye on the grout’s appearance; if it’s looking dull or stained, it’s time to reseal. Proper sealing frequency ensures your grout stays clean, durable, and resistant to dirt, making ongoing maintenance easier and more effective.
Can I Seal Unsealed or Old Grout?
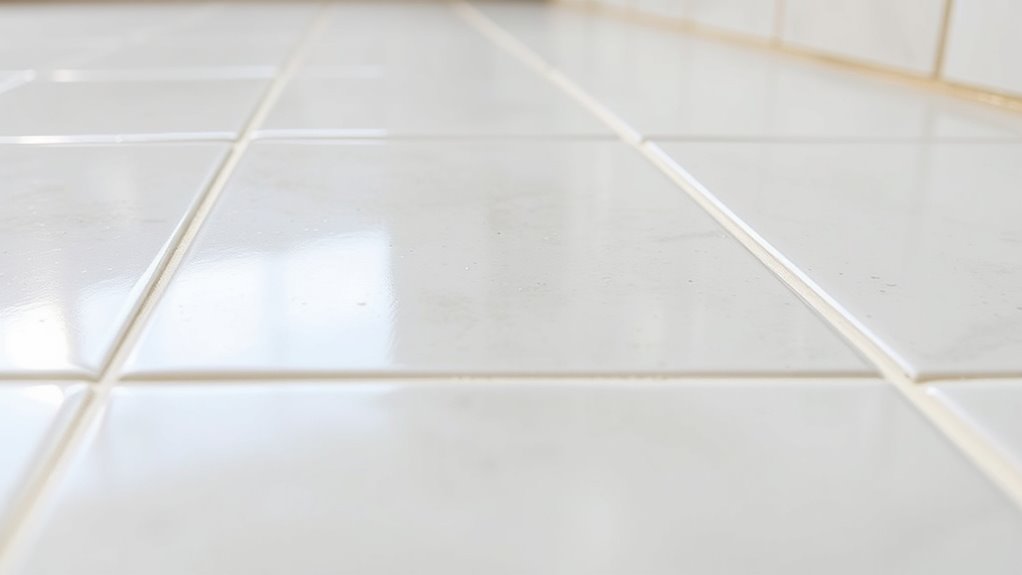
Imagine you’ve just installed beautiful white grout, but it’s unsealed and looks dull. You can absolutely seal unsealed or old grout; just make certain you clean and prep it first. Use a gentle cleaner to remove dirt and stains, then choose the right sealant type—penetrating or surface sealers—based on your grout color and needs. Sealing improves durability, enhances color, and prevents stains, giving your tiles a fresh, polished look.
What Are the Signs That Grout Needs Cleaning Before Sealing?
You’ll know grout needs cleaning before sealing if you notice mold growth or discoloration. Mold appears as dark spots or fuzzy patches, while discoloration shows up as stains or dull patches on the grout lines. If you see these signs, it’s essential to clean thoroughly first. Cleaning removes mold and stains, ensuring the sealant adheres properly and protects your grout effectively. Skipping this step can lead to trapped mold and future damage.
Is It Necessary to Remove Existing Stains Before Sealing?
Yes, you should remove existing stains before sealing to guarantee proper sealing and long-lasting results. Grout stain removal involves thoroughly cleaning and possibly light scrubbing to eliminate dirt, mold, or discoloration. This step is essential for sealing preparation because it helps the sealant adhere better and prevents stains from setting in again. Skipping stain removal can compromise the sealant’s effectiveness and make future cleaning more difficult.
How Long Should I Wait After Cleaning Before Sealing Grout?
Think of your grout like a freshly washed window—nothing should cloud the view. You should wait at least 24 hours after cleaning before sealing grout, giving it time to dry completely. Use proper cleaning techniques like a gentle scrub and a mild cleaner, then select quality sealing materials. This pause guarantees the sealer adheres properly, locking in cleanliness and extending your grout’s lifespan.
Conclusion
Now that you’ve learned when and how to clean before sealing, your grout will thank you with a fresh, renewed appearance. Think of it as giving your tiles a gentle hug, ensuring they stay vibrant and beautiful for years to come. With just a little effort, you create a cozy, inviting space that feels as good as it looks. So go ahead—treat your grout to this small act of kindness and enjoy the lasting glow.