To maintain your Keurig coffee maker operating smoothly and your brew tasting fresh, be sure to clean it regularly. Prevent mold and bacteria growth by cleaning the exterior, reservoir, and pod holder daily. Use white vinegar or Keurig cleaning pods for a deep clean every 3 to 6 months. Regular maintenance extends the lifespan of your machine and guarantees top brewing performance. Don't forget to wipe down the exterior weekly and descale your Keurig as recommended. Taking care of your coffee maker will ensure a great cup of coffee every time.
Key Takeaways
- Regularly descale every 3-6 months to prevent mineral buildup.
- Use filtered water to reduce clogs and improve coffee taste.
- Clean external parts weekly to maintain the machine's appearance.
- Follow Keurig's cleaning instructions for optimal performance.
- Remove used pods promptly to prevent mold and bacteria growth.

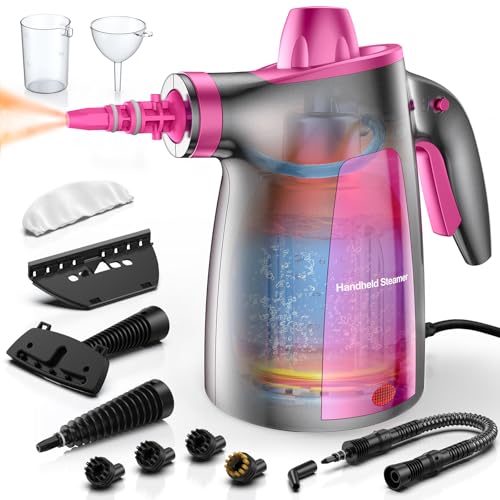
Phueut Pressurized Handheld Multi-Surface Natural Steam Cleaner with 12 pcs Accessories, Multi-Purpose Steamer for Home Use, Steamer for Cleaning Floor, Upholstery, Grout and Car
POWERFUL HOT STEAM - 1050 watts with 3-5 minutes fast heat-up and emits pressurized powerful hot steam 230℉...
As an affiliate, we earn on qualifying purchases.
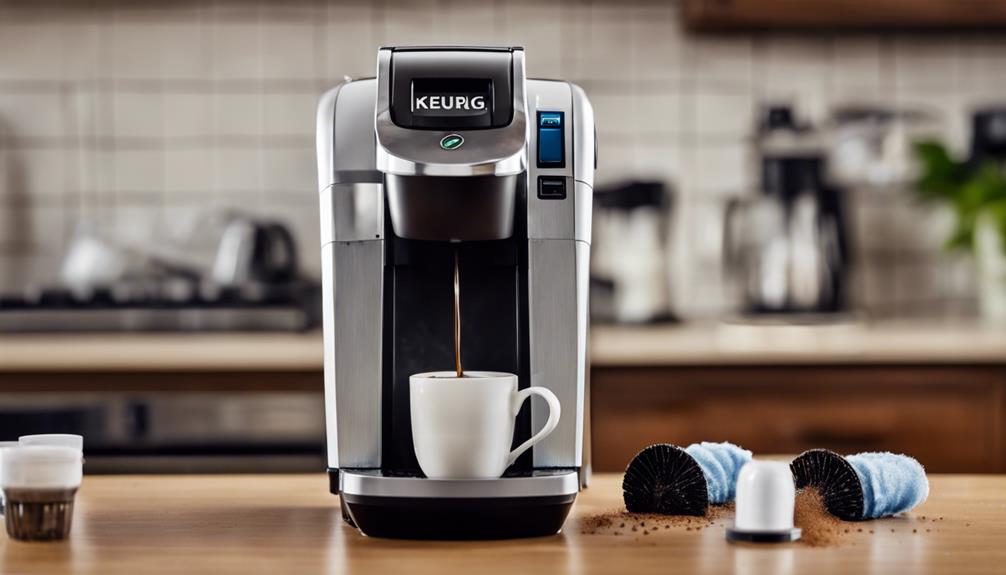
Importance of Keurig Cleaning
Regularly tidying up your Keurig coffee maker is necessary for preventing mold and bacteria growth and ensuring top brewing performance. The significance of Keurig cleaning can't be emphasized enough, as it not only maintains peak performance but also helps extend the lifespan of your beloved coffee machine.
Neglecting to clean your Keurig can lead to the accumulation of mold and bacteria, which can contaminate your coffee and potentially harm your health. Additionally, regular cleaning, including descaling every 3 to 6 months, is vital for removing mineral buildup that can affect the taste of your coffee.
LABIGO Steam Cleaner, Pressurized Handheld Multi-Surface Natural Steam Cleaner with 12pcs Accessory & Safety Lock, Portable Steamer for Cleaning Home, Kitchen, Bathroom, Car, Upholstery, Grout, Window
Powerful Hot Steam: This steam cleaner operates at 1050W, heating up in just 3-5 minutes to deliver 230℉...
As an affiliate, we earn on qualifying purchases.
Cleaning Frequency and Supplies

To maintain your Keurig coffee maker's peak performance and freshness, it's essential to adhere to a regular cleaning schedule and have the necessary supplies on hand. Keurig recommends descaling every 3 to 6 months to prevent mineral buildup that can affect the quality of your coffee.
In addition to descaling, cleaning the exterior, reservoir, drip tray, and pod holder of your Keurig machine daily helps extend its lifespan and assures each cup of coffee tastes fresh. The supplies you need for cleaning include white vinegar, dish soap, water, a clean cloth, and a toothbrush or paperclip for small parts. These items are vital for effectively removing mineral deposits and preserving the quality of your brewed coffee.
Keurig also offers cleaning pods and descaling solutions that make maintenance quick and easy, ensuring a clean and fresh machine in just a few minutes.

Mecmic Steam Cleaner for Home - 1600ML Water Tank 15s Heat-Up Portable Steamer for Cleaning, 6 Level Adjustable, 2500W, 45PSI, 250°F Steam, Handheld Steam Cleaner for Car Detailing, Grease, Tile,Grout
【250°F Instant Hot Steam】 The upgraded Mecmic steam cleaner generates continuous 250°F high-temperature steam that cuts through stubborn...
As an affiliate, we earn on qualifying purchases.
Cleaning Solutions and Tools

Effective cleaning of your Keurig coffee maker requires the use of suitable solutions and tools. Here are some options to keep your machine in top condition:
- Household Cleaning Solutions: Vinegar, water, and citric acid are effective for regular cleaning to prevent mineral buildup and maintain the quality of your coffee.
- Keurig Cleaning Pods: Keurig offers convenient cleaning pods that efficiently remove residue and buildup, ensuring a fresh and clean machine.
- Descaling Solution: Keurig's descaling solutions are specifically designed to eliminate mineral deposits and enhance the brewing quality of your machine.
- Water Filter Cartridge: Using a water filter cartridge is essential for removing chlorine, which helps preserve the taste of your coffee and prolongs the lifespan of your Keurig machine.

Pressurized Handheld Steam Cleaner with 10pcs Accessories & Safety Lock, Multi-Purpose & Powerful Home Use Steamer for Cleaning, Car, Bathroom, Shower, Upholstery, Grout, Window (Black)
FAST & POWERFUL HOT STEAM: 1050 watts, rapid heating in 3-5 minutes, and emits powerful pressurized hot steam...
As an affiliate, we earn on qualifying purchases.
Maintaining Keurig Between Cleanings

To maintain your Keurig running smoothly between deep cleanings, remember to:
- Wipe the exterior weekly
- Clean the drip tray
- Maintain the reservoir
These simple steps help prevent mold growth and guarantee a fresh, hygienic brewing environment for your daily coffee fix.
Weekly Exterior Wipe
Consider integrating a weekly wipe-down of your Keurig's exterior into your routine to maintain cleanliness and appearance effortlessly. Daily wiping is recommended by Keurig to make sure a hygienic coffee maker.
To achieve this, follow these steps:
- Prepare the Cloth: Dampen a cloth with water but make sure it's not soaking wet to wipe down the exterior surfaces effectively.
- Turn Off and Unplug: Always turn off and unplug your Keurig before cleaning to avoid any accidents.
- Wipe Down: Gently wipe the exterior of your Keurig, including the sides and top, to remove any dust or stains.
- Make It Routine: Integrate this quick cleaning step into your weekly routine to prevent dirt and grime buildup and keep your Keurig looking pristine.
Drip Tray Cleaning
Regularly washing the drip tray with warm water and dish soap is essential for maintaining the cleanliness and hygiene of your Keurig coffee maker. The drip tray catches spills and drips, preventing messes on your countertop. Keurig recommends daily washing of the drip tray to ensure a clean brewing environment.
Hand wash the drip tray with warm water and dish soap to effectively remove coffee stains and residue. By cleaning the drip tray regularly, you can prevent mold growth and sustain peak hygiene standards. A clean drip tray not only contributes to the overall cleanliness of your Keurig coffee maker but also enhances its appearance.
Reservoir Maintenance
Maintain freshness and prevent mold growth by regularly cleaning the water reservoir of your Keurig coffee maker with warm, soapy water.
Here are some essential tips for reservoir maintenance:
- Clean Daily: To avoid mold and keep your coffee tasting fresh, clean the water reservoir of your Keurig daily.
- Use Warm, Soapy Water: Washing the reservoir with warm, soapy water helps eliminate coffee residue and buildup, ensuring clean water for brewing.
- Check for Signs of Mold: Be on the lookout for any odors or discoloration in the water reservoir, as these could indicate the presence of mold.
- Enhance Performance: Regular reservoir maintenance not only improves the taste of your coffee but also optimizes your Keurig's performance for a better brewing experience.
Cleaning Process and Troubleshooting

To enhance performance, regularly clean your Keurig by descaling with a vinegar solution to eliminate mineral buildup affecting brewing quality.
Additionally, wash removable parts like the pod holder with soapy water to prevent clogs and potential brewing issues.
For troubleshooting, if you encounter slow brewing, it's advisable to descale your Keurig and check for any clogs in the needles. Remember to use a paperclip or toothbrush to clean the needle thoroughly for peak performance.
After cleaning, run rinse cycles to ensure no residue is left behind, maintaining the purity of your brew.
Preventing Mold Growth in Keurig

To prevent mold growth in your Keurig machine, promptly remove used coffee pods after each brewing cycle. Address spills and drips immediately to avoid mold development in your Keurig.
Avoid leaving brewed coffee in the pod holder, as this can lead to mold formation. Regular maintenance and cleaning of your Keurig are essential in preventing mold growth in the machine.
Mold can quickly grow in used coffee pods if they're left sitting for days, making it vital to remove them promptly. By staying on top of these simple tasks, you can keep your Keurig free from mold and maintain a clean brewing environment.
Recommended Cleaning Schedule

For best maintenance of your Keurig coffee maker, adhere to a recommended cleaning schedule. Keurig suggests daily wiping down the exterior and washing removable parts weekly to keep your machine in top condition. This regular cleaning routine helps prevent the buildup of dirt and grime, ensuring that your coffee maker stays hygienic and functions optimally.
In addition to daily and weekly cleaning, it's essential to descale your Keurig every 3-6 months. Descaling removes mineral deposits that can accumulate in the machine, affecting its performance and the taste of your coffee.
Changing the water filter every few months is another vital aspect of the recommended cleaning schedule. This practice helps maintain water quality, ensuring that your coffee tastes fresh and delicious with every brew.
Descaling Your Keurig

Maintaining your Keurig coffee maker in top condition involves regular descaling every 3 to 6 months to remove mineral buildup and guarantee peak brewing performance. Descaling your Keurig is a crucial maintenance task that can greatly impact the taste and longevity of your machine.
Here's how to descale your Keurig effectively:
- Use the Correct Solution: Opt for white vinegar or a Keurig descaling solution for best results.
- Follow the Instructions: Whether using white vinegar or a descaling solution, follow the manufacturer's guidelines for the proper dilution and rinsing process.
- Run Keurig Rinse Cycle: After descaling, run a rinse cycle with fresh water to eliminate any remaining descaling solution.
- Maintain a Schedule: Stick to a descaling routine every 3 to 6 months to prevent mineral buildup and ensure a smooth brewing experience every time.
Frequently Asked Questions
How Many Times Should I Run My Keurig After Descaling?
After descaling your Keurig, you should run at least 2 cleansing brews with just water to guarantee all vinegar residue is flushed out. This helps remove any remaining descaling solution and maintains your coffee maker's performance.
Why Do I Have to Keep Descaling My Keurig?
You have to keep descaling your Keurig to remove mineral buildup from hard water, preventing clogs and maintaining peak brewing performance. Neglecting this can affect taste, efficiency, and the overall lifespan of your coffee maker.
Is Keurig Descaling Solution Better Than Vinegar?
Yes, Keurig Descaling Solution is better than vinegar for your machine. It's formulated to effectively remove limescale and mineral buildup, maintain your warranty, and prevent damage. Plus, it's odorless, ensuring a fresh brew every time.
Why Does My Keurig Keep Sputtering?
Your Keurig sputters due to clogs in needles or water line, coffee grounds or mineral deposits buildup, inconsistent water flow, or air bubbles. Cleaning needles and descaling the machine can fix this. Regular maintenance guarantees smooth operation.
Conclusion
So remember, keeping your Keurig clean is as important as changing the oil in your car.
Regular cleaning with simple supplies and solutions will help your coffee maker run smoothly and your beverages taste delicious.
Don't let mold grow and gunk build up – take a few minutes to clean your Keurig regularly.
Your morning coffee will thank you!